
Stretching pizza dough by hand is easy – once you know a few tricks. Learn how to stretch pizza dough balls that are store bought or homemade with this step by step guide and video. Let’s do this!
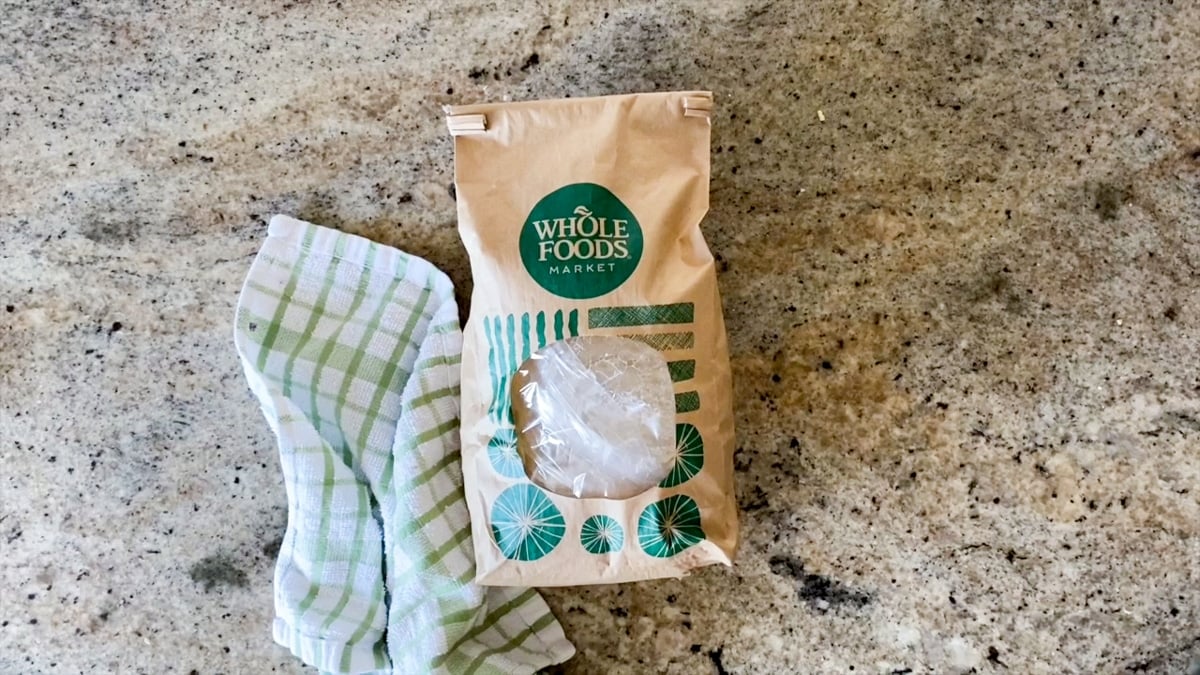
Today, you’ll learn how to stretch fresh dough balls. You can use store-bought pizza dough from Trader Joe’s, Whole Foods, or any grocery store that sells ready-made pizza dough. This guide also works for stretching homemade pizza dough. Lately, I’ve been making and stretching sourdough pizza dough with these directions and it turns out great.
As a bonus, you’ll learn how to let the dough rise before stretching and how to patch any holes in the dough.
With this guide, you will learn how to stretch the edge of the dough to make any shape – a circle pizza, rectangle pizza, or a freeform pizza shape – with your ball of dough.
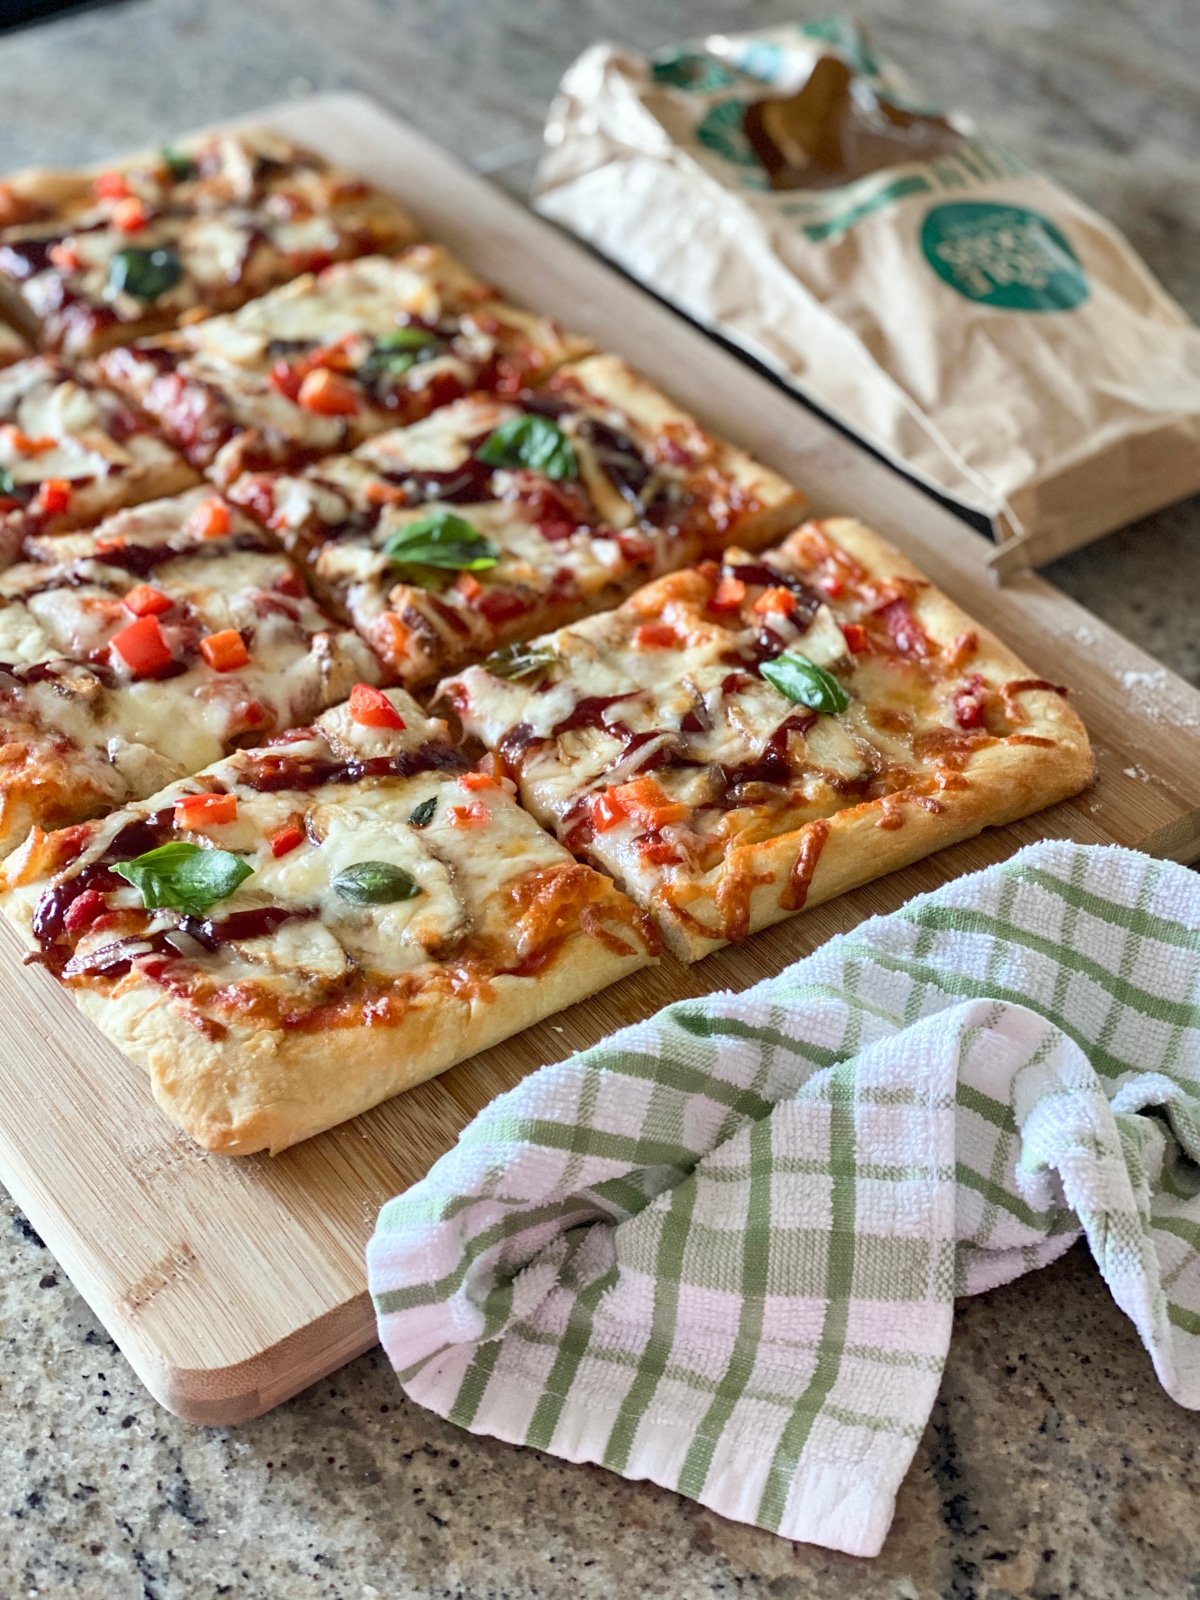
Get the recipe for making BBQ pizza with Whole Foods Dough
What you need to stretch pizza dough
You only need a couple of ingredients to stretch pizza dough.
- Ball of dough (usually 1 LB pizza dough ball)
- About 1 tbsp flour
Once you’re ready to make homemade pizza, you’ll of course need other ingredients like olive oil and toppings.
Tools for stretching pizza dough by hand
The only tool you really need is a large cutting board. A large work surface is key.
Do you have to toss pizza dough in the air to stretch it?
No, using a large cutting board is a sufficient amount of workspace for stretching pizza dough. I also swear by a technique of using knuckles to stretch the dough from underneath, which you’ll learn today as well.
So again, there is no tossing pizza dough in this guide – so you don’t have to worry about overhead fans or anything! One day I’ll share a guide for stretching pizza dough in the air, but I love this method for stretching dough on a cutting board.
How to stretch pizza dough
This guide will work for stretching both rectangle pizzas and circular pizzas. Sometimes I like to just shape pizza dough in free form, letting it expand into an organic shape, which makes it look really fancy, like what you’d expect when ordering a gourmet flatbread at a nice restaurant.
1. Help pizza dough ball rise
Let the dough rise 30 minutes to a few hours before working with it. This means, take it out of the fridge and put it in a sunny window so it gently heats up.
I learned that trick from my mom growing up. When we were out running errands, she would give me money to run in and buy a few balls of pizza dough from one of our favorite Italian bakeries in town. For the rest of our errands, the dough would sit on the car dashboard and rise beautifully.
Make your own pizza from scratch with my super-easy recipe! My video tutorial will turn you into a full-fledged baker, and all you need to impress the family is a bag of flour and a little yeast.
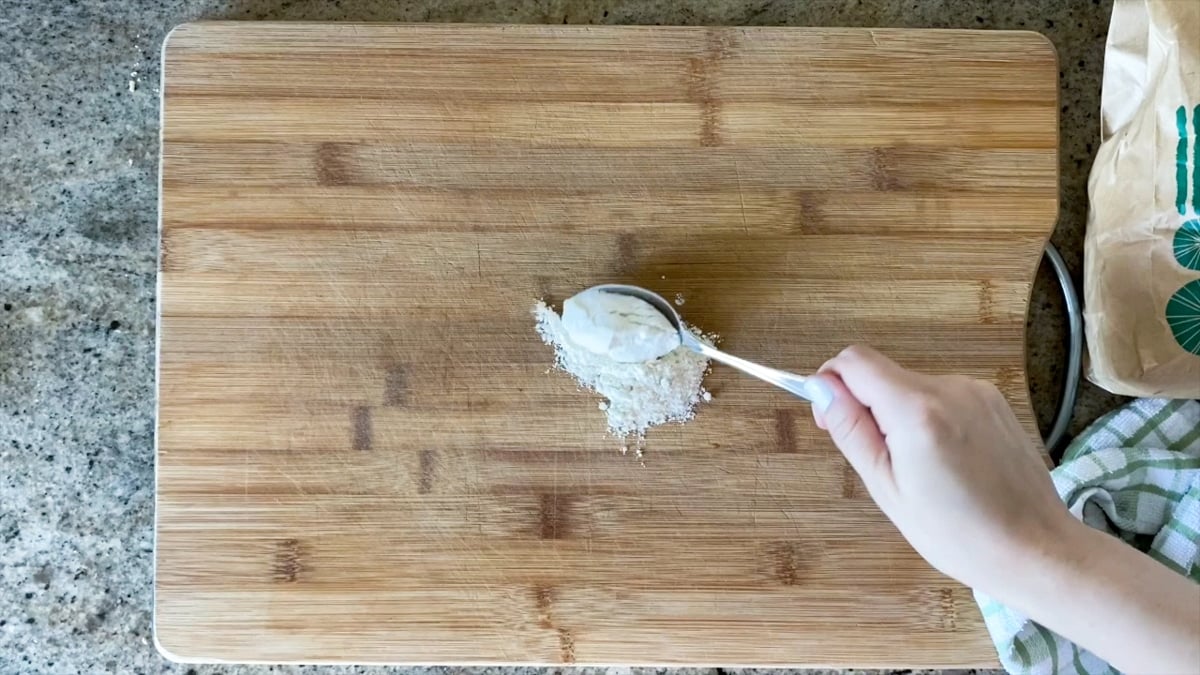
2. Prepare your work station
When the dough is nice and plump, almost bursting out of the bag, it’s time to roll. Before you start stretching pizza dough by hand, add about half the flour to a large cutting board and spread it around the board so there is a very light layer of flour on the surface. This prevents the dough from sticking to the board.
3. Lightly coat the pizza dough in flour
Add the raw pre-made pizza dough ball on top of the flour. Flip it over so both sides are lightly coated with flour.
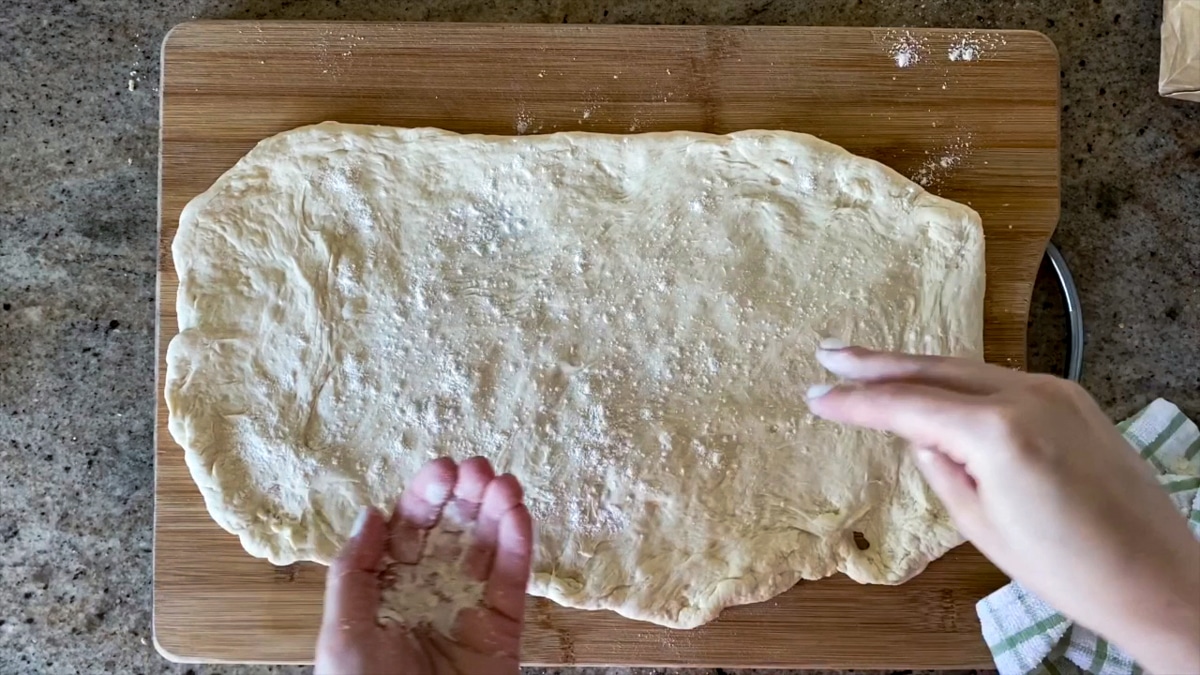
4. Learn how to use flour for stretching pizza dough
This is its own step because it is so important to learn how to use flour properly for working with pizza dough and getting it to form a rectangle or circle shape. Before we go on to the next steps of hand stretching pizza dough, please note that a little bit of flour goes a long way.
Do you need a lot of flour to stretch pizza dough?
Flour is your best friend while stretching pizza dough, but only in small amounts. The rest of the flour left after covering the cutting board (about a half tablespoon) should be plenty as you go on to the next steps of stretching the dough.
You’ll be adding light dusting of flour to the dough as it stretches, which will prevent the dough from sticking to itself, and shrinking back up into a ball. A little flour helps the dough retain its shape for these stretching techniques. That’s why you’ll see me working it into the dough whenever I stretch the dough in a new direction in the pizza dough stretching video at the end of this page.
5. Pinch the dough
Stretch the dough first by pinching the outside 1” in a circular motion to spread it out. This is forming the crust area. I picked up this tip from Chef Hubs who worked in a pizza parlor. You can pick up a little pinch of flour here and there as you pinch the dough. The dough will be sticky, then you’ll pinch with floured fingertips, and it will make that area less sticky and keep it opened up. Once you’ve gone 1-2x around the perimeter of the pizza dough, and the dough starts to open up into a larger shape, it’s time to move inside.
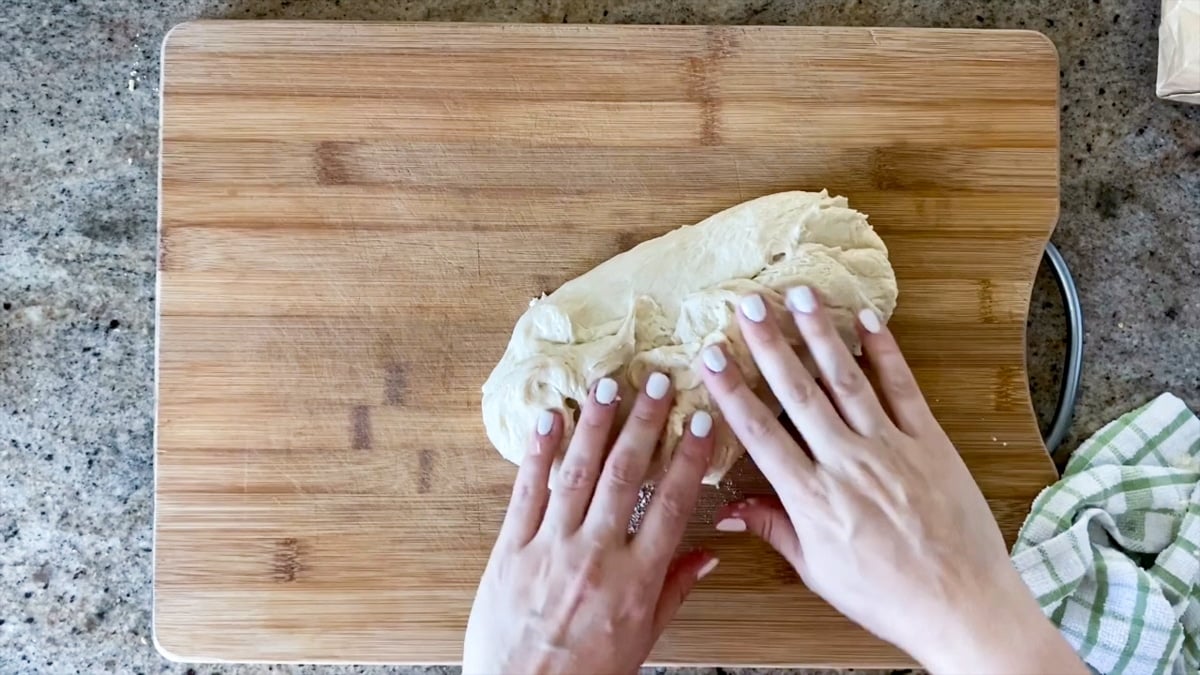
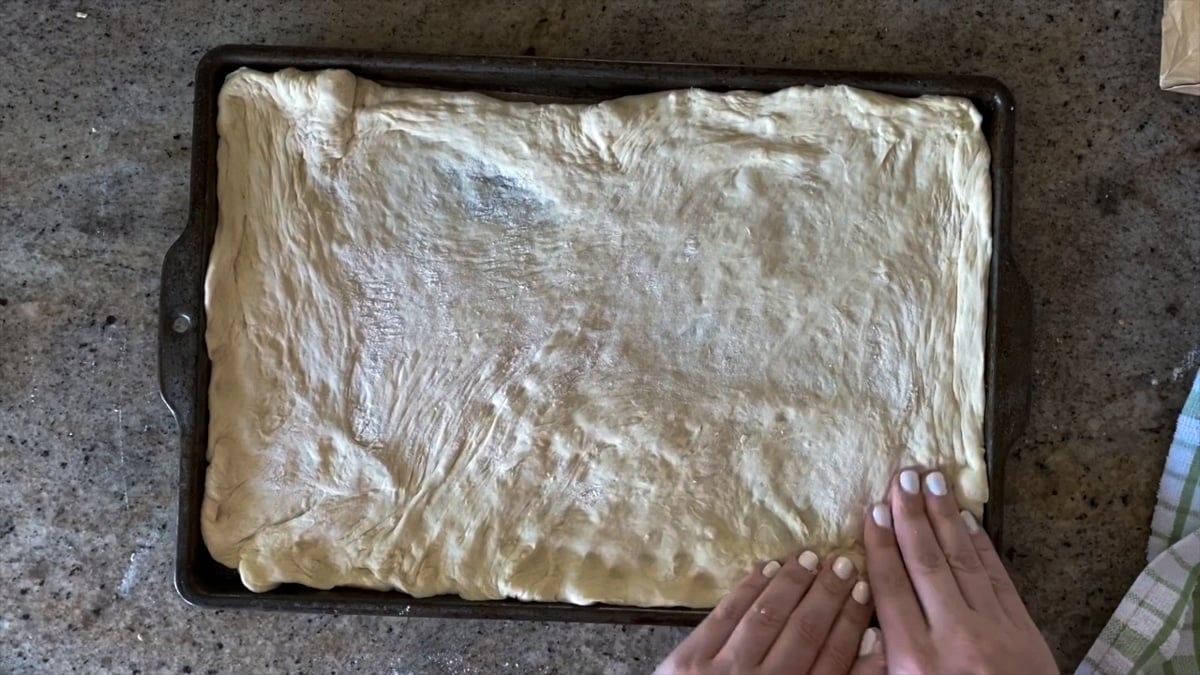
6. Push the center of the dough
Stretch the inside of the pizza dough by pushing it against the cutting board from the center, expanding to the edge of the dough. You’ll do this for about a minute, or a dozen or so times, dusting your fingers with flour as you work so the dough keeps its growing shape.
You’ll know this step is done when the shape of the dough doubles in width. The dough should start thinning out from a ball to a crust shape.
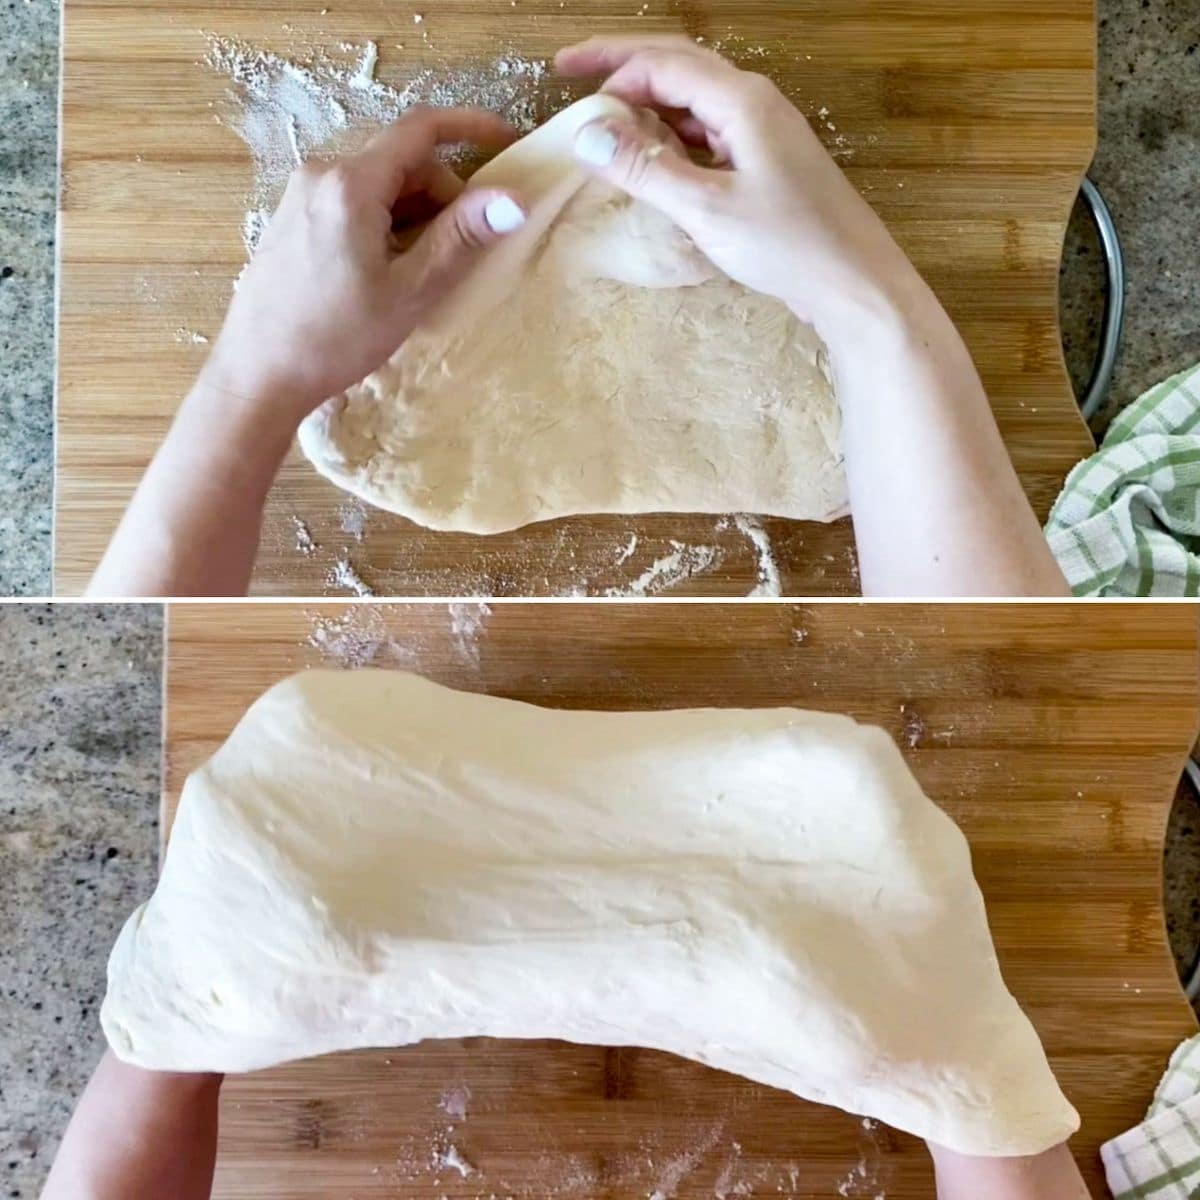
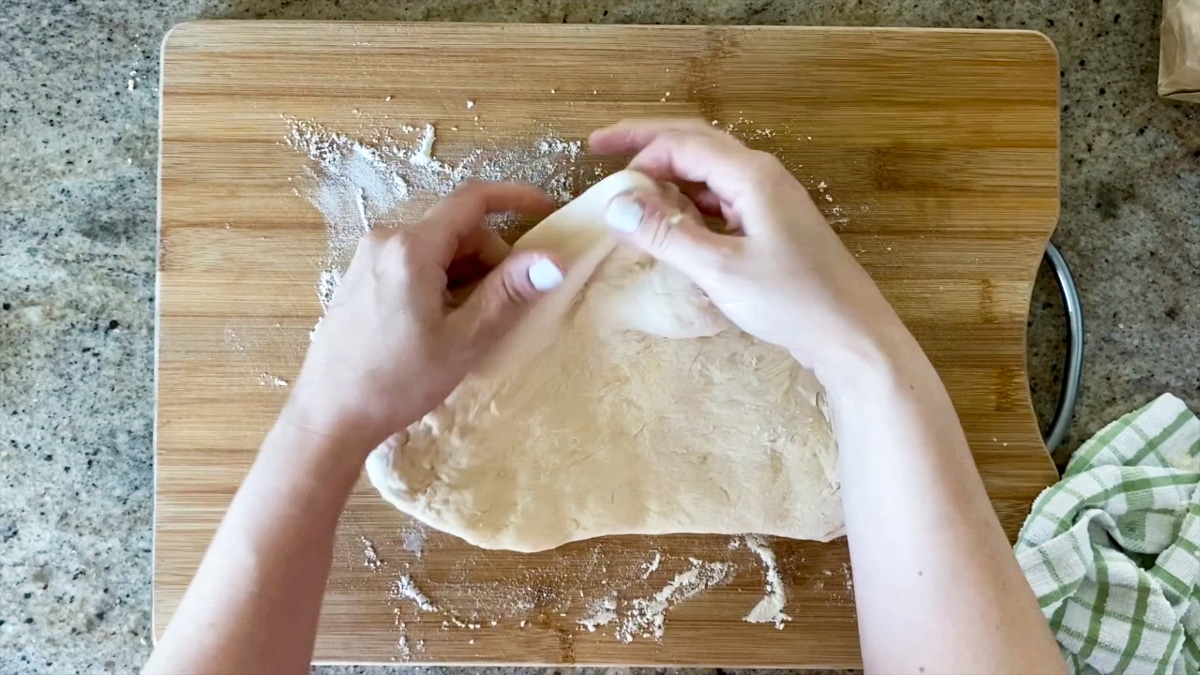
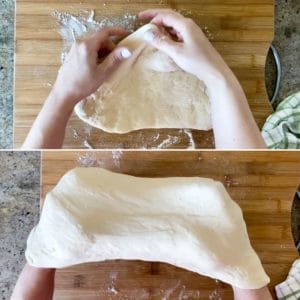
7. Picking up the dough and using knuckles
Here’s my favorite part – the grand finale.
I like to pick up the dough and use my knuckles for the final stretch. It always expands the dough to the right shape.
To do this, make two fists and rest the half-stretched pizza dough on top of your knuckles. Expand the shape of the dough by stretching out your fists to widen your hands.
Do this a few times, moving your hands outwards from the center. Add flour if needed.
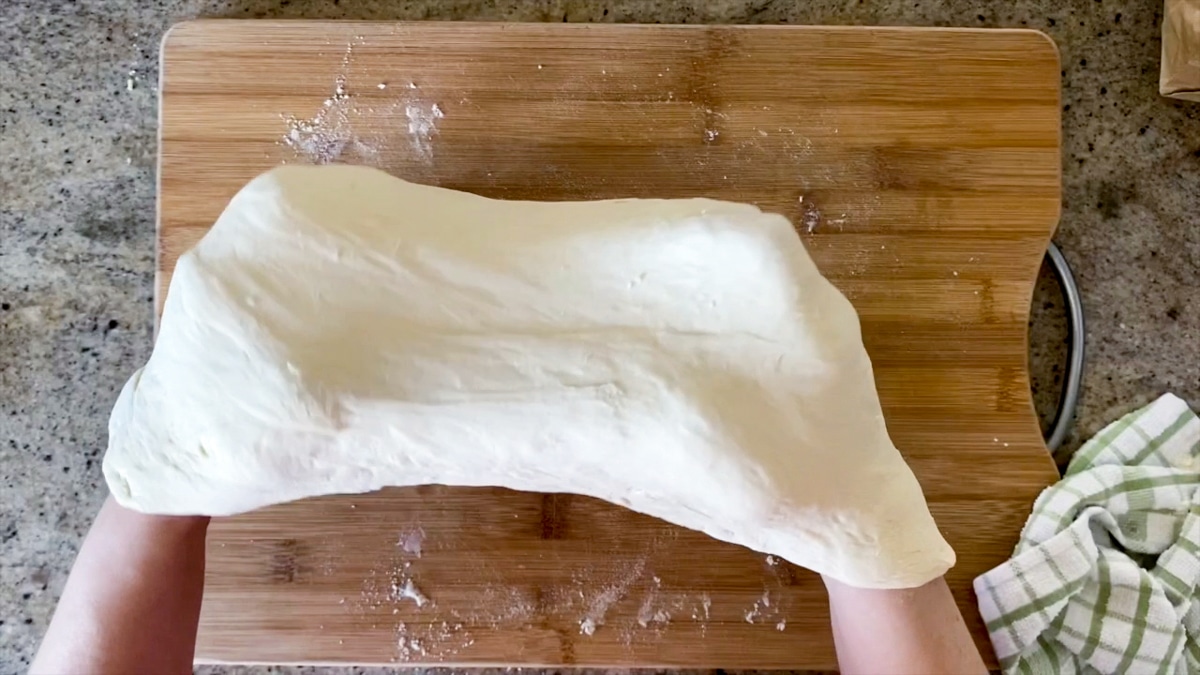
Shaping pizza dough
For a round pizza, keep rotating the dough in a circle as you stretch it.
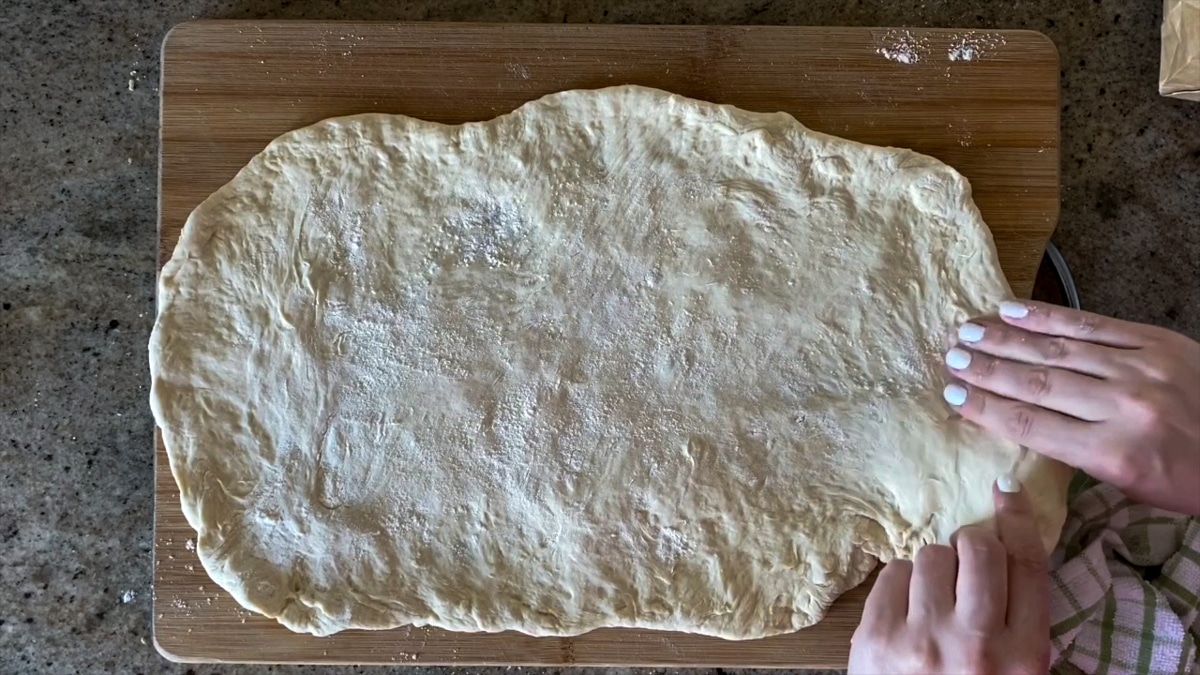
For a rectangle or free form pizza shape, keep stretching the dough in one direction so it becomes oblong. At this point, the dough should be fully stretched and ready to bake for homemade pizza or grilled pizza.
What if pizza dough tears when stretching it?
If your pizza dough tears while stretching, it’s being pulled too wide in areas where it doesn’t want to expand.
First, cover any holes and very transparent sections of dough by folding a small section of pizza dough over the area. You can push together the layers and as long as there isn’t too much flour on the dough, it should form a strong crust base in that area again.
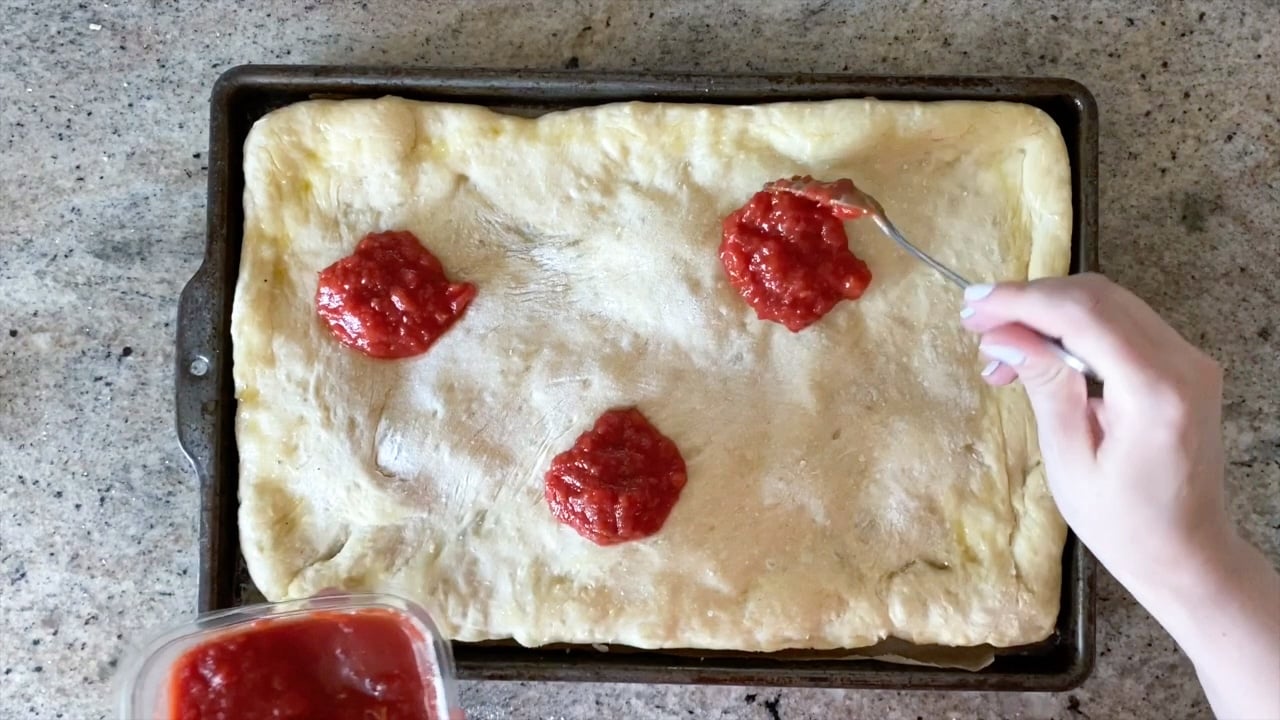
Next, go easy on your dough! Stretch out other thick areas, but stay away from the thinning pizza dough spots. When the dough has stretched to about the size of the pizza tray you’re going to bake it on, transfer it to a sheet pan lined with parchment paper and a little bit of olive oil like in my recipe for making pizza at home. If the dough will stretch further, push it to the outside of the tray. Then the dough is ready to bake.
Does cold pizza dough stretch?
Cold pizza dough stretching is more difficult because cold ingredients constrict. Using room temperature dough or a “slightly warmed by the sun” ball of dough is perfect.
I love working with dough, kinda like an art project. You can really tune into a dough ball to feel if it’s going to open up or not. Cold pizza doughs can be stretched, but they are less forgiving and will likely make holes during the stretching process.
It’s better to leave cold pizza dough out for 30 minutes and/or follow my recommendations for using a window to let the pizza rise.
If you don’t want to wait for pizza dough to rise before stretching it, then make pizza on a frozen pizza crust. There are so many ways to make it taste restaurant quality.
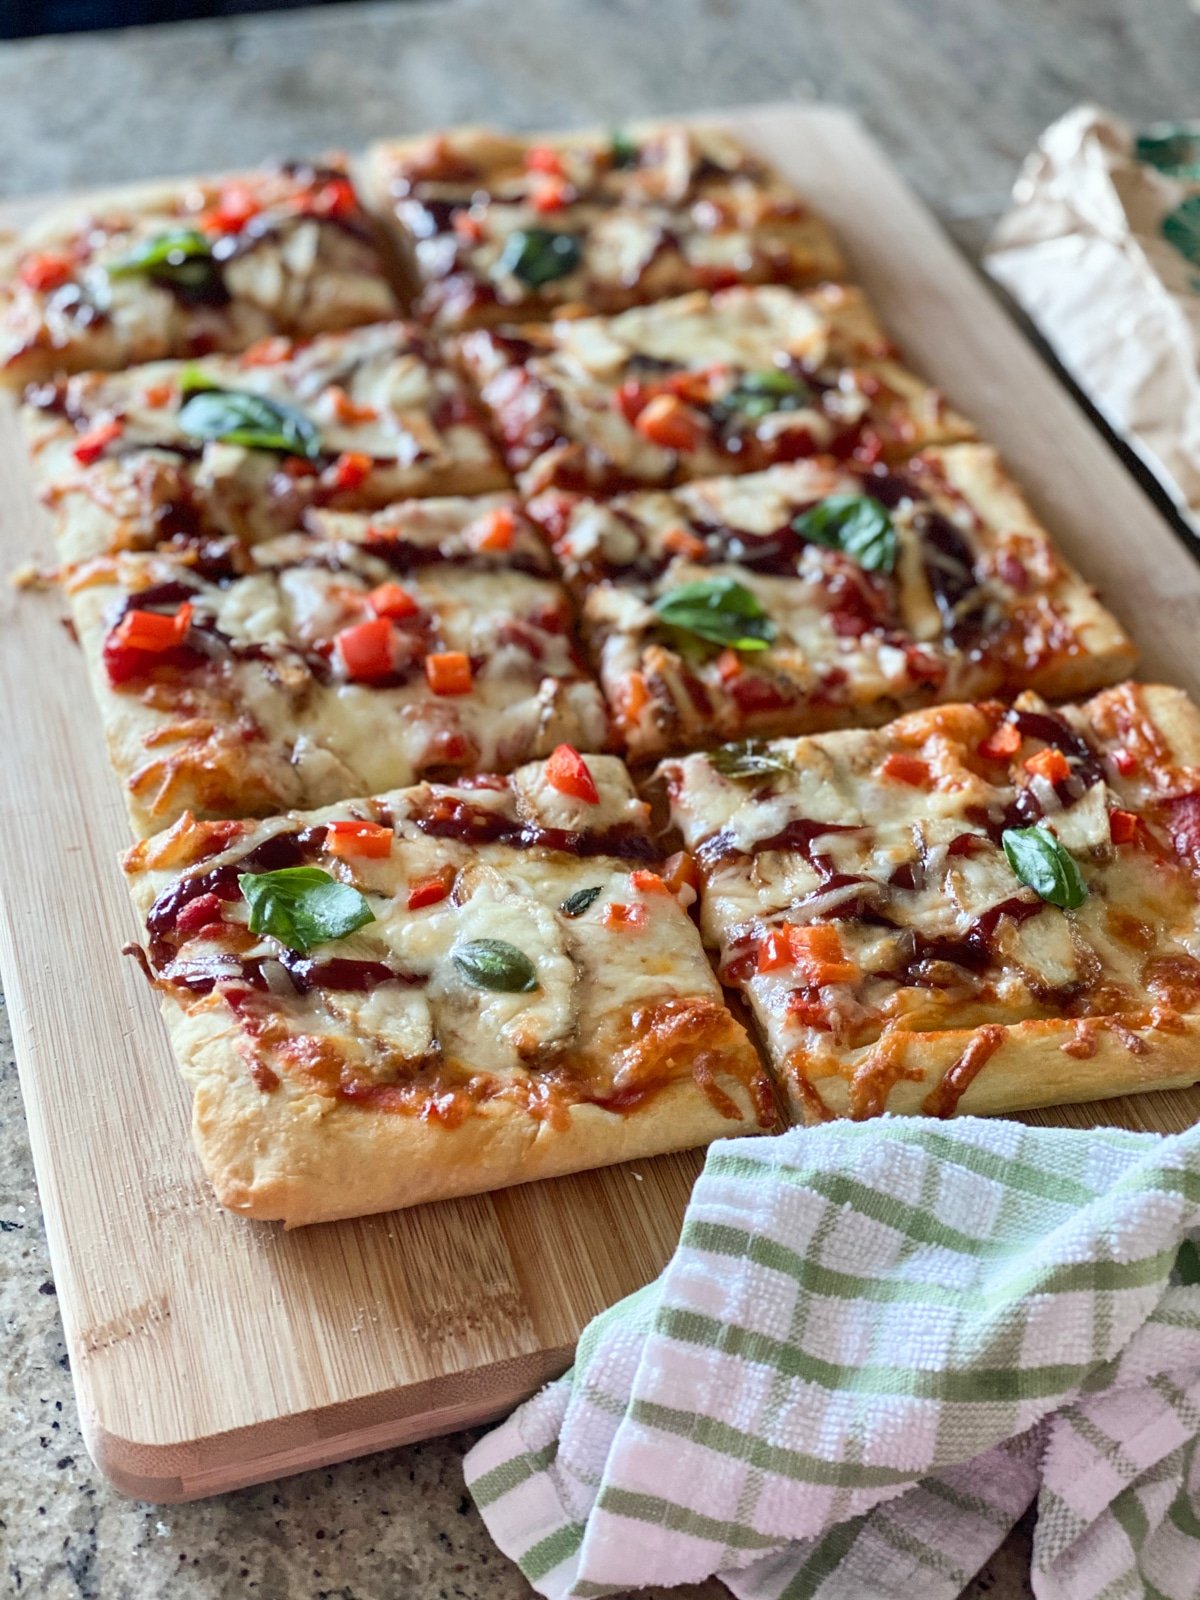
Choose some tasty toppings…
With a blank canvas of raw pizza dough, you have endless possibilities for making pizzas. I love to use gourmet ingredients, which are actually often leftovers glammed up a bit. They really transform and take on a new (tasty) life after adding some fontina, cheddar, or mozzarella cheese.
Here are a few favorite ingredients for pizza recipes
- BBQ chicken
- Alfredo sauce
- Simple tomato sauce with canned tomatoes
- Roasted cherry tomatoes
- Caramelized red onions
- Sous vide chicken tenders
- Sous vide bacon
- Chorizo
- Sauteed mushrooms with thyme
- Fresh herbs like basil, parsley
For more inspiration, from eggs to asparagus, check out these delicious pizza recipes.
Share your pizza selfies
I love getting photos of pizza selfies! Find me on Instagram to show me your pizza @sipbitego.
Want to eat restaurant-style food at home? Subscribe to the Sip Bite Go channel.
Stretching Pizza Dough By Hand (Guide and Video) | Sip Bite Go
Ingredients
- 1 pizza dough ball
- 1 tbsp flour
Instructions
- Let the ball of pizza dough rise. Let the dough rise 30 minutes to a few hours before working with it. This means, take it out of the fridge and put it in a sunny window so it gently heats up. I learned that trick from my mom growing up. When we were out running errands, she would give me money to run in and buy a few balls of pizza dough from one of our favorite Italian bakeries in town. For the rest of our errands, the dough would sit on the car dashboard and rise beautifully.
- Prepare the surface. When the dough is nice and plump, almost bursting out of the bag, it’s time to roll. Before you start stretching pizza dough by hand, add about half the flour to a large cutting board and spread it around the board so there is a very light layer of flour on the surface. This prevents the dough from sticking to the board.
- Lightly coat the pizza dough in flour. Add the raw pre-made pizza dough ball on top of the flour. Flip it over so both sides are lightly coated with flour.
- Learn how to use flour when stretching pizza dough. This is its own step, because it so important to learn how to use flour properly for working with pizza dough and getting it to form a rectangle or circle shape. Before we go on to the next steps of hand stretching pizza dough, please note that a little bit of flour goes a long way. Flour is your best friend while stretching pizza dough, but only in small amounts. The rest of the flour left after covering the cutting board (about a half tablespoon) should be plenty as you go on to the next steps of stretching the dough. You’ll be adding light dustings of flour to the dough as it stretches, which will prevent the dough from sticking to itself, and shrinking back up into a ball. A little flour helps the dough retain its shape for these stretching techniques. That’s why you’ll see me working it into the dough whenever I stretch the dough in a new direction in the video.
- Pinch the dough. Stretch the dough first by pinching the outside 1” in a circular motion to spread it out. This is forming the crust area. I picked up this tip from Chef Hubs who worked in a pizza parlor. You can pick up a little pinch of flour here and there as you pinch the dough. The dough will be sticky, then you’ll pinch with floured fingertips, and it will make that area less sticky and keep it opened up. Once you’ve gone 1-2x around the perimeter of the pizza dough, and the dough starts to open up into a larger shape, it’s time to move inside
- Push the inside. Stretch the inside of the pizza dough by pushing it against the cutting board from the center, expanding to the edge of the dough. You’ll do this for about a minute, or a dozen or so times, dusting your fingers with flour as you work so the dough keeps its growing shape. You’ll know this step is done when the shape of the dough doubles in width. The dough should start thinning out from a ball to a crust shape.
- Lastly, picking up the dough and using knuckles. Here’s my favorite part - the grand finale. I like to pick up dough and use my knuckles for the final stretch. It always expands the dough to the right shape. To do this, make two fists and rest the half-stretched pizza dough on top of your knuckles. Expand the shape of the dough by stretching out your fists to widen your hands. Do this a few times, moving your hands outwards from the center. Add flour if needed. If you’re making a round pizza, keep rotating the dough in a circle as you stretch it. For a rectangle or free form pizza shape, keep stretching the dough in one direction so it becomes oblong. At this point, the dough should be fully stretched and ready to par bake for homemade pizza or grilled pizza.

Leave a Reply