New to sous vide cooking? This ultimate guide on how to sous vide for beginners has everything you need to get started.
Since publishing my sous vide cookbook, so many people have reached out asking for details from beginner sous vide enthusiasts who want to get into this home chef hobby. Welcome, new friends!

So here’s my super easy beginner guide with 3 easy steps to sous vide cook. With these tips for sous vide cooking, you’ll be able to sous vide everything from steak to seafood to vegetables. (yup, you can sous vide corn!) Let’s do it!
Overview of how to sous vide for beginners
- Season and seal the food in a bag
- Sous vide food in a sous vide water bath
- Add your finishing touch – sear, grill, broil, or fry the food
Okay, now for the details.
This sous vide for beginners guide super simple and straightforward – so you can get started with sous vide for the first time today.
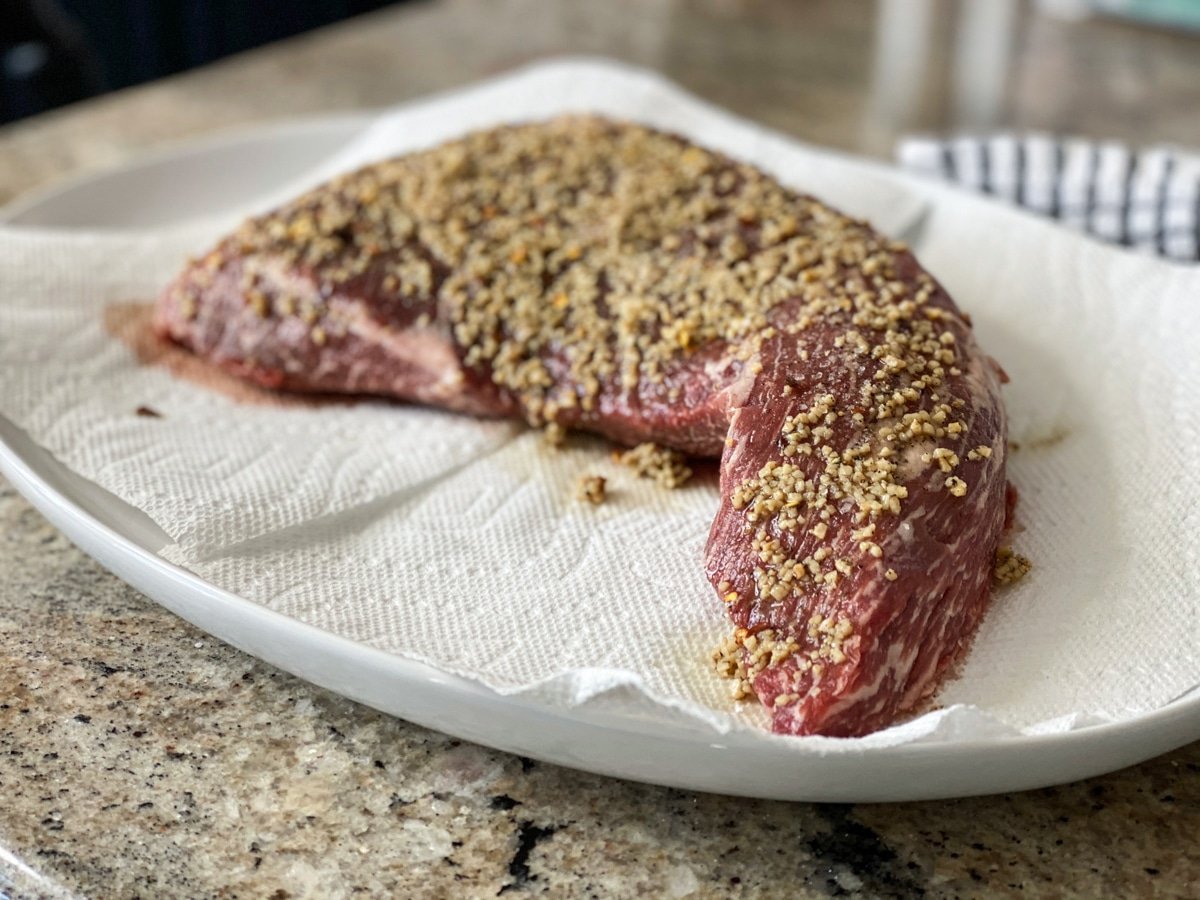
(STEP 1) Season and seal sous vide food in bags
Seasoning sous vide foods
As sous vide cooking has evolved from restaurant-only cooking, to home chef cooking at home, the practices have evolved too.
I don’t want to get into a whole big thing about it, but years ago, everyone was adding butter to sous vide steaks and other foods. Some people will call the sous vide police on you if you add butter to your cooks. Come to find out, butter dilutes the juices of the meat.
But, to each their own – you’ll have to try sous vide recipes that use butter to decide for yourself.
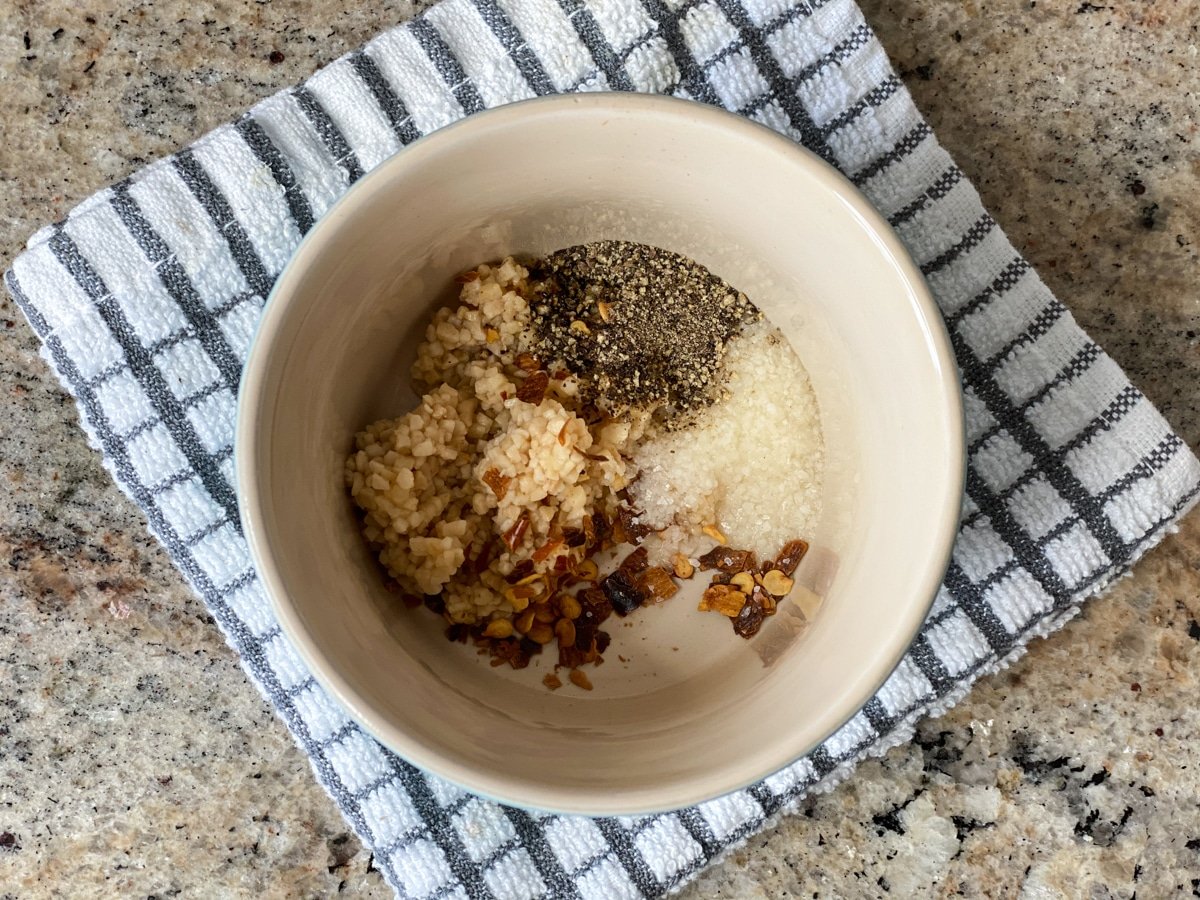
Many times, I’ll just add a little salt and pepper to the main ingredients before sealing the bag.
And for extra flavor, I’ll add some fresh herbs or garlic (which also sparks another controversial sous vide debate – more on that another time).
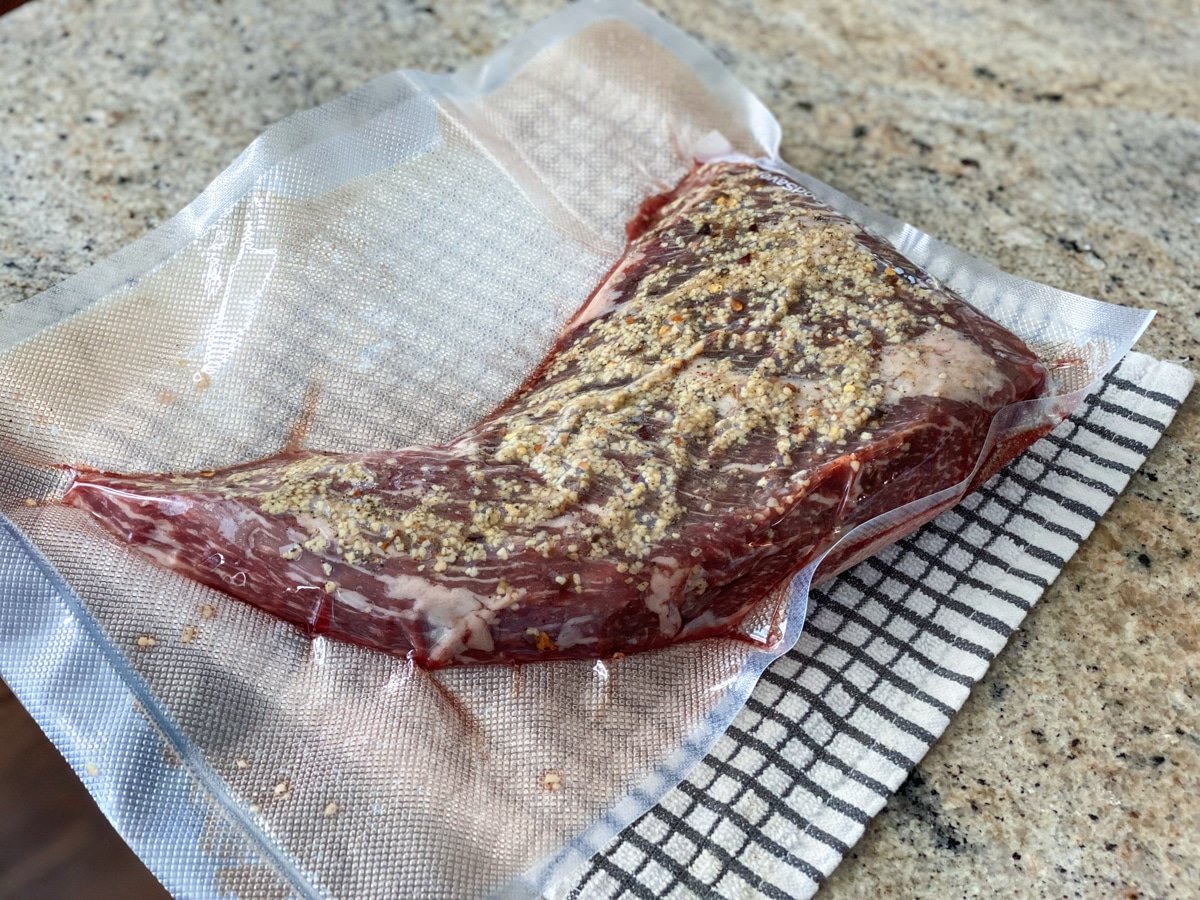
Do you need a vacuum sealer to sous vide?
Not necessarily. You place the food to be sous vide cooked in a heat safe freezer bag, or, ideally, a vacuum bag add in your seasonings, and seal.
There are two main ways to seal food for sous vide cooking.
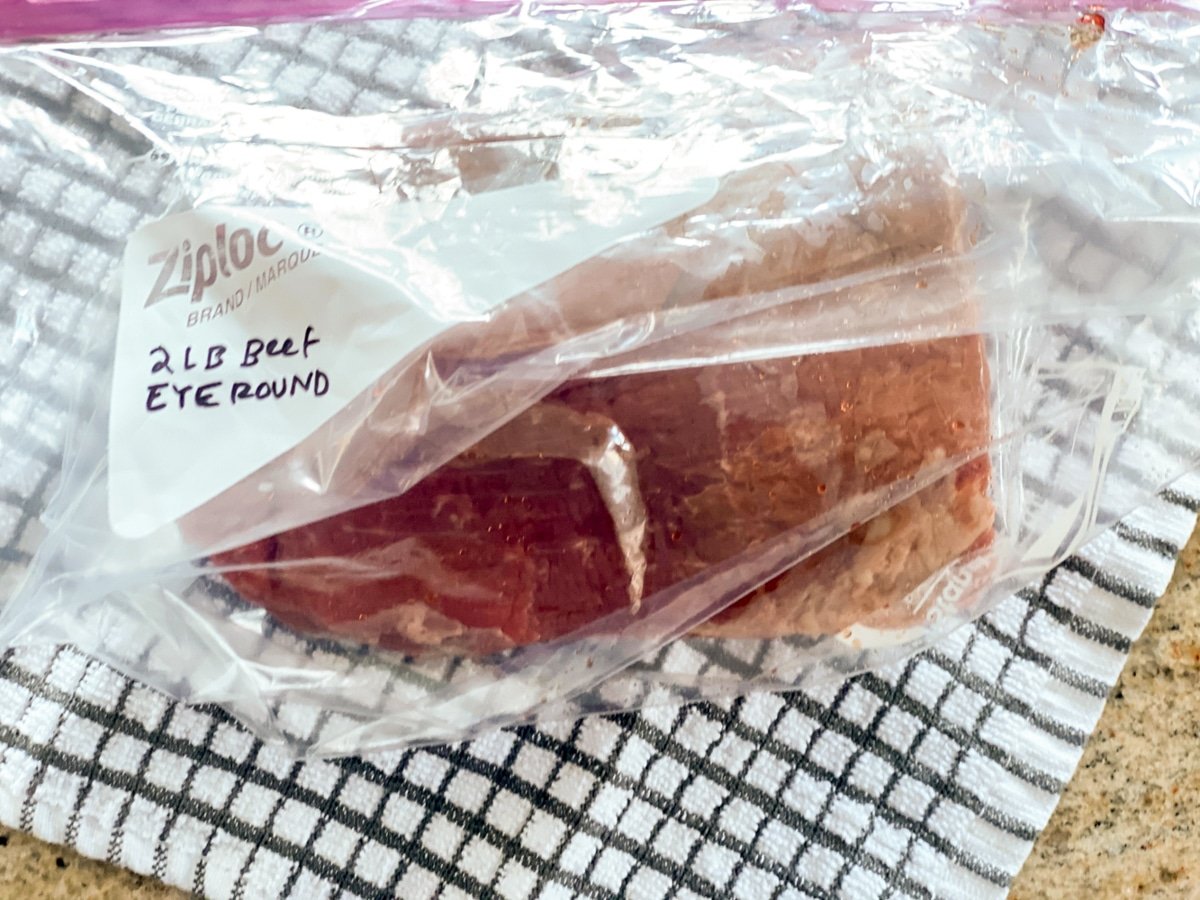
Bag option 1: Sous vide with ziploc bags
If you’re using a freezer bag, you can use my water displacement method to get all the air out of the bag.
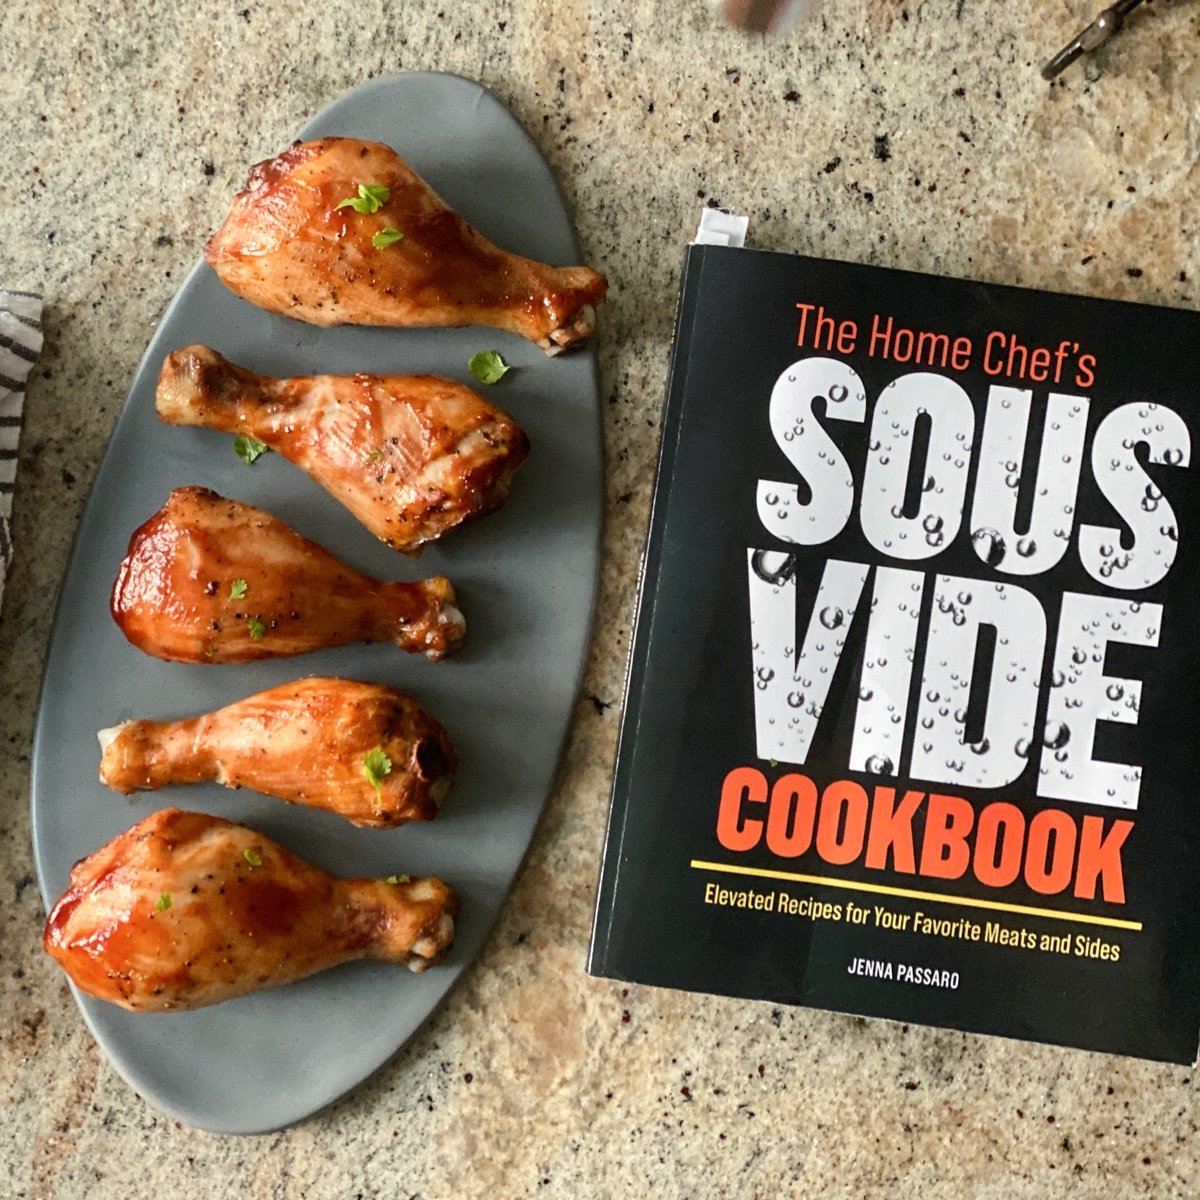
As explained in The Home Chef’s Sous Vide Cookbook:
“Seal the bag almost all the way. Slowly submerge the bag in water while keeping the opening of your bag out of the water. As the bag is pushed down, the water pressure will push the air out of the bag. Assist the air escaping the bag until there is no air left. Then seal the bag.”
Read more in detail about using Ziplock bags for sous vide vs vacuum sealing.
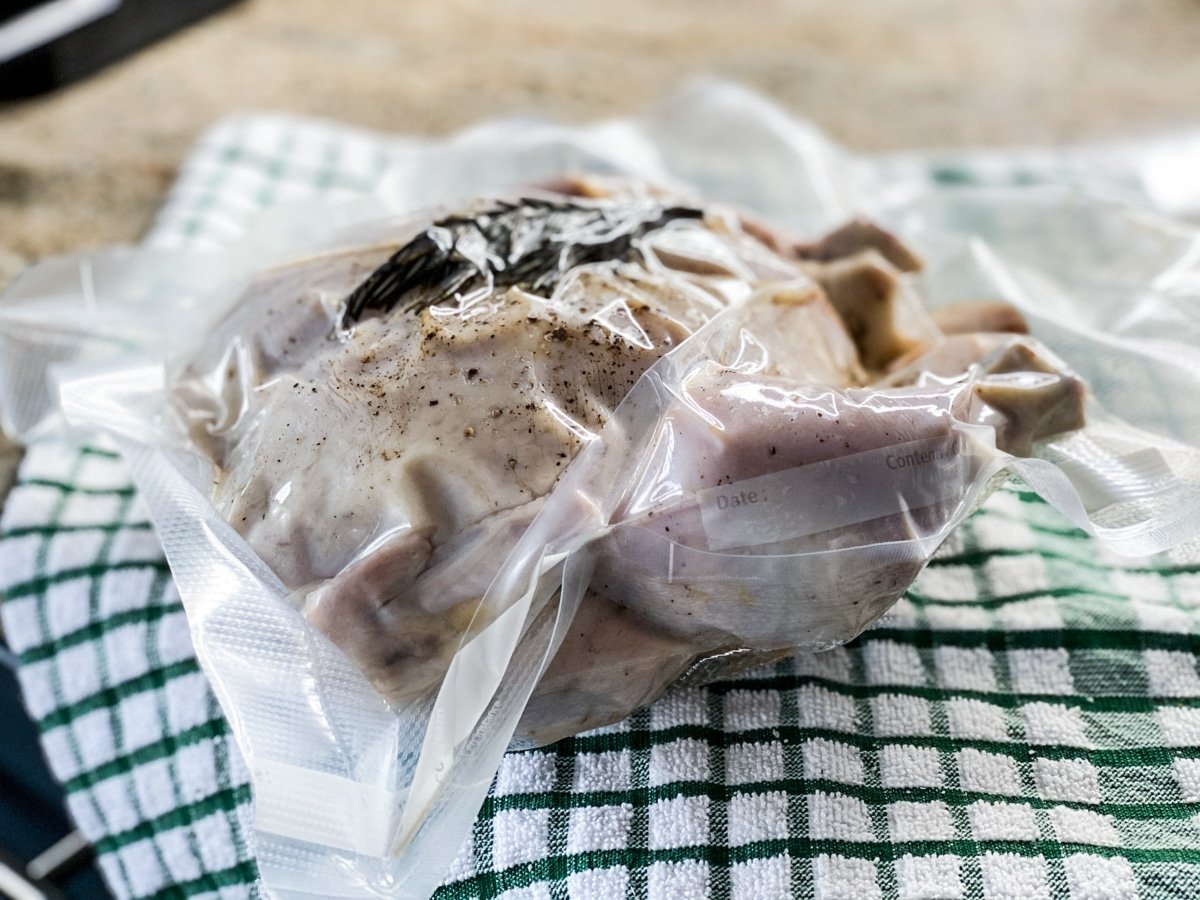
Learn how to spatchcock a chicken, vacuum seal a whole chicken, then sous vide whole chickens to perfection.
Bag option 2: Sous viding with a vacuum sealer
If you’ve got a vacuum sealer, your life will be even easier: just stick your food in, follow the directions on your machine, and watch all the air get vacuumed out and the bag conform to the food that’s inside it.
Since the vacuum seal machine seals, too, so there’s no way any water can get in. Even for long cooks like 24 hour sous vide short ribs.
That’s another big advantage of vacuum sealed over freezer bags: the seams on freezer bags do occasionally fail, leaking your delicious sous vide juices into the water bath and making your food soggy and tasteless.
This topic is covered pretty extensively in my Foodsaver 4400 vacuum sealer video.
And you can learn more about sous vide meal prep in this guide on how to vacuum seal meat.
See my list of the best sous vide chicken recipes.
(STEP 2) Sous vide food in a water bath
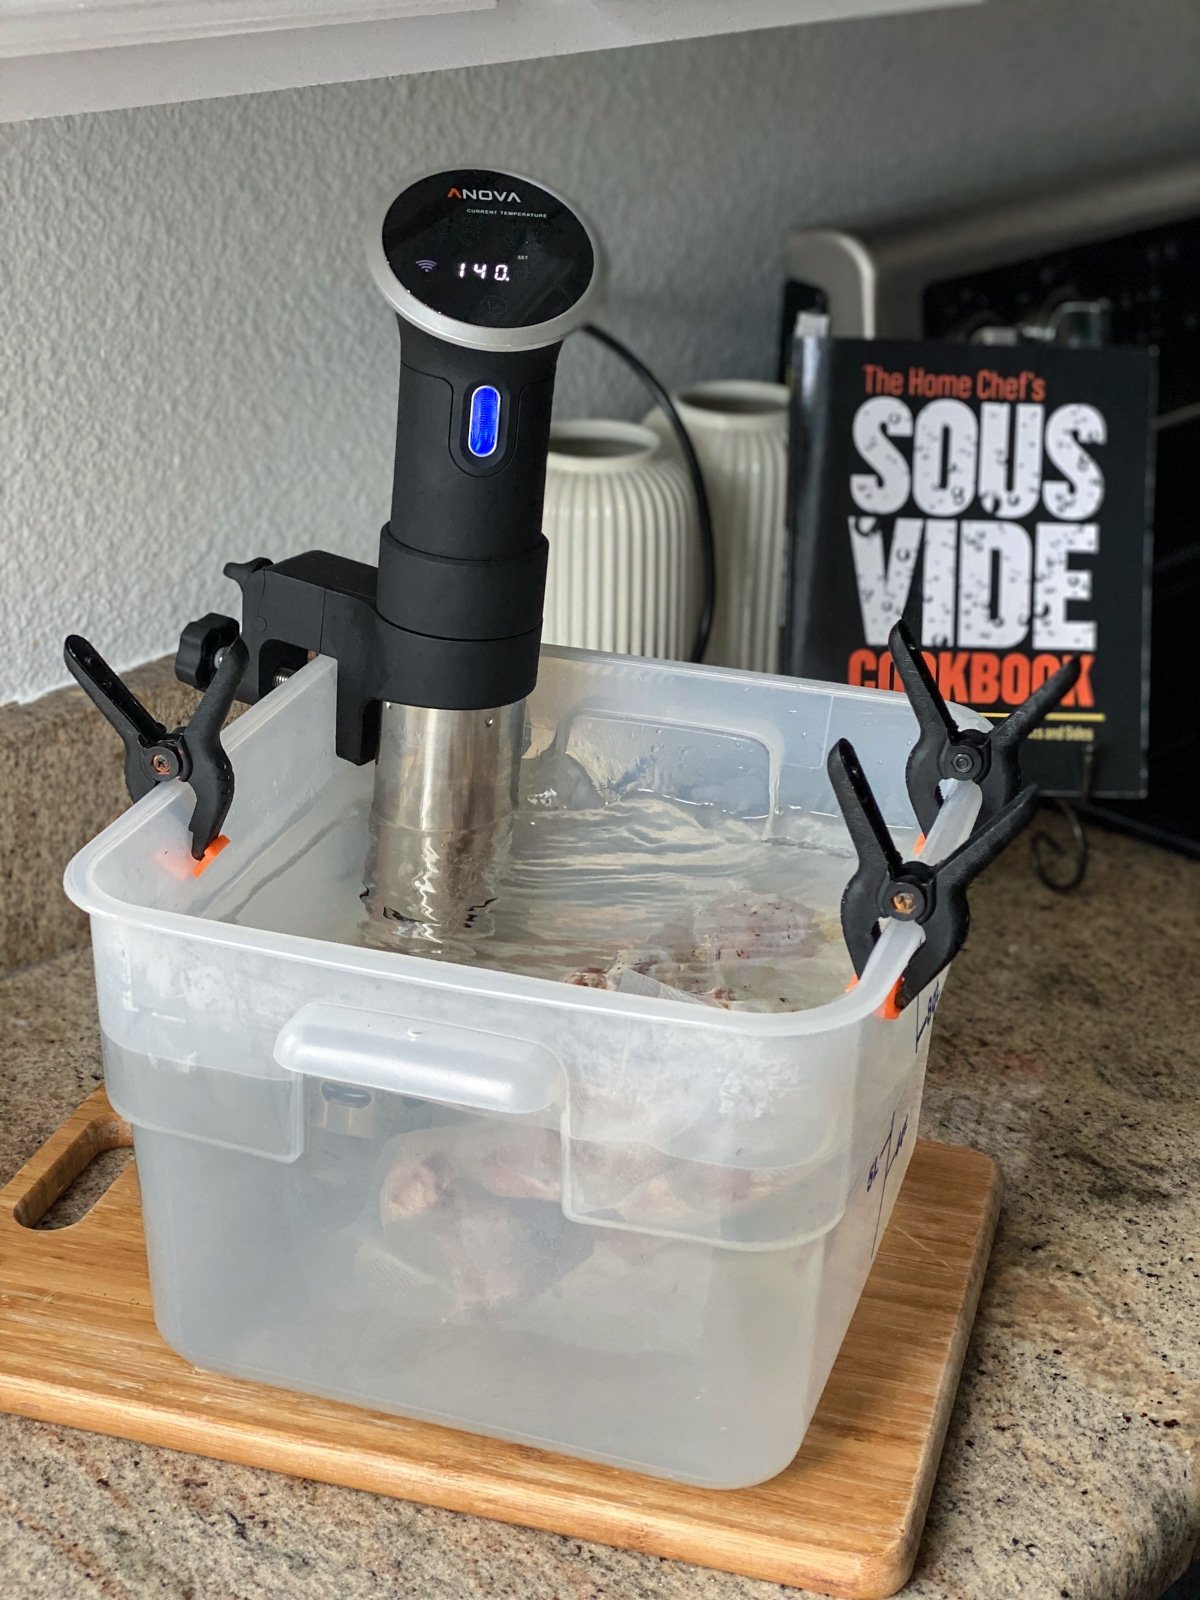
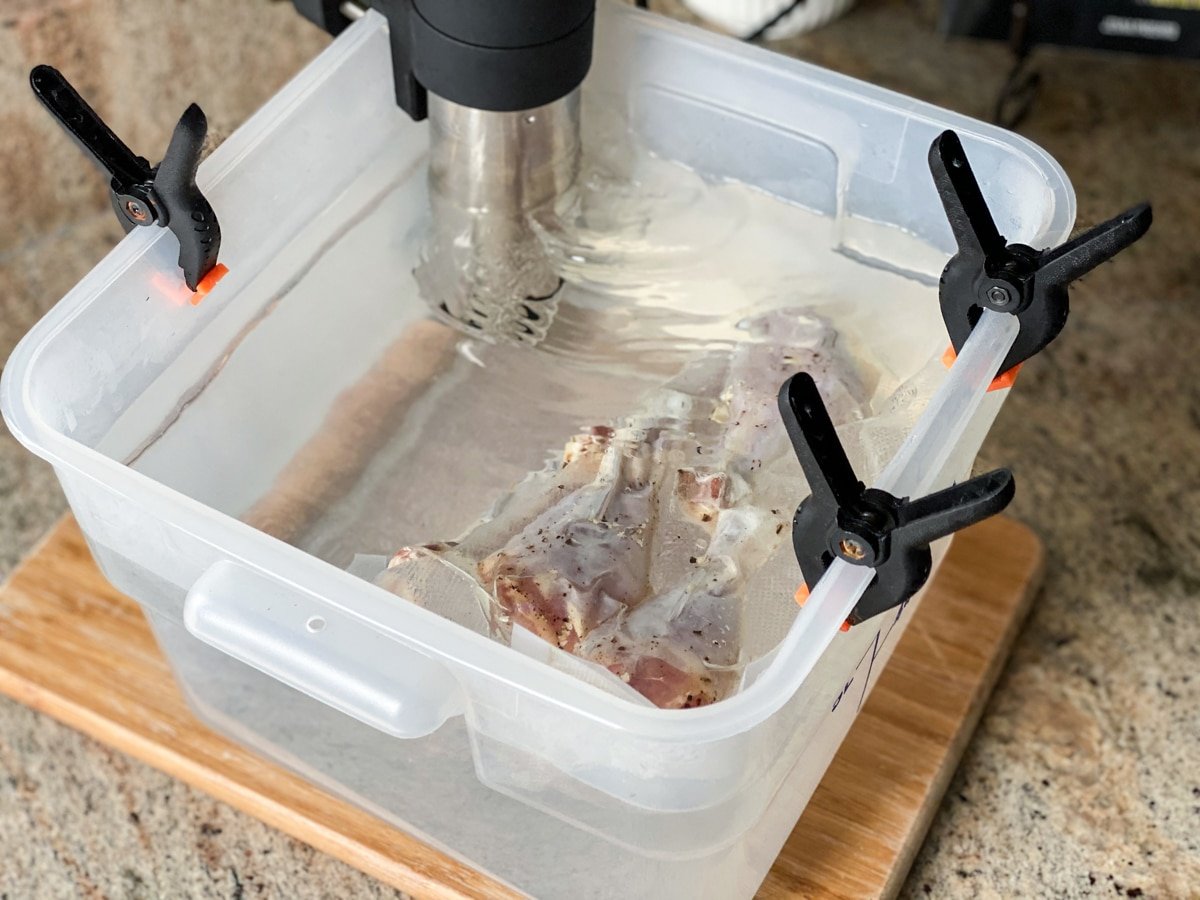
Once your food is sealed in its special bag, the next step is super simple: pop it into the sous vide water bath, make sure it is completely underwater, and turn your sous vide machine settings for the temperature recommended in the recipe.
When your food is finished cooking, you pull it out of the water bath, and if you want to keep the cook time nice and precise you can ice shock it to make the cooking process stop immediately.
Then your food is ready to eat, but it might not look all that pretty yet.
Before I move on to how to finish sous vide cooks, let’s chat sous vide machines.
Types of sous vide machines
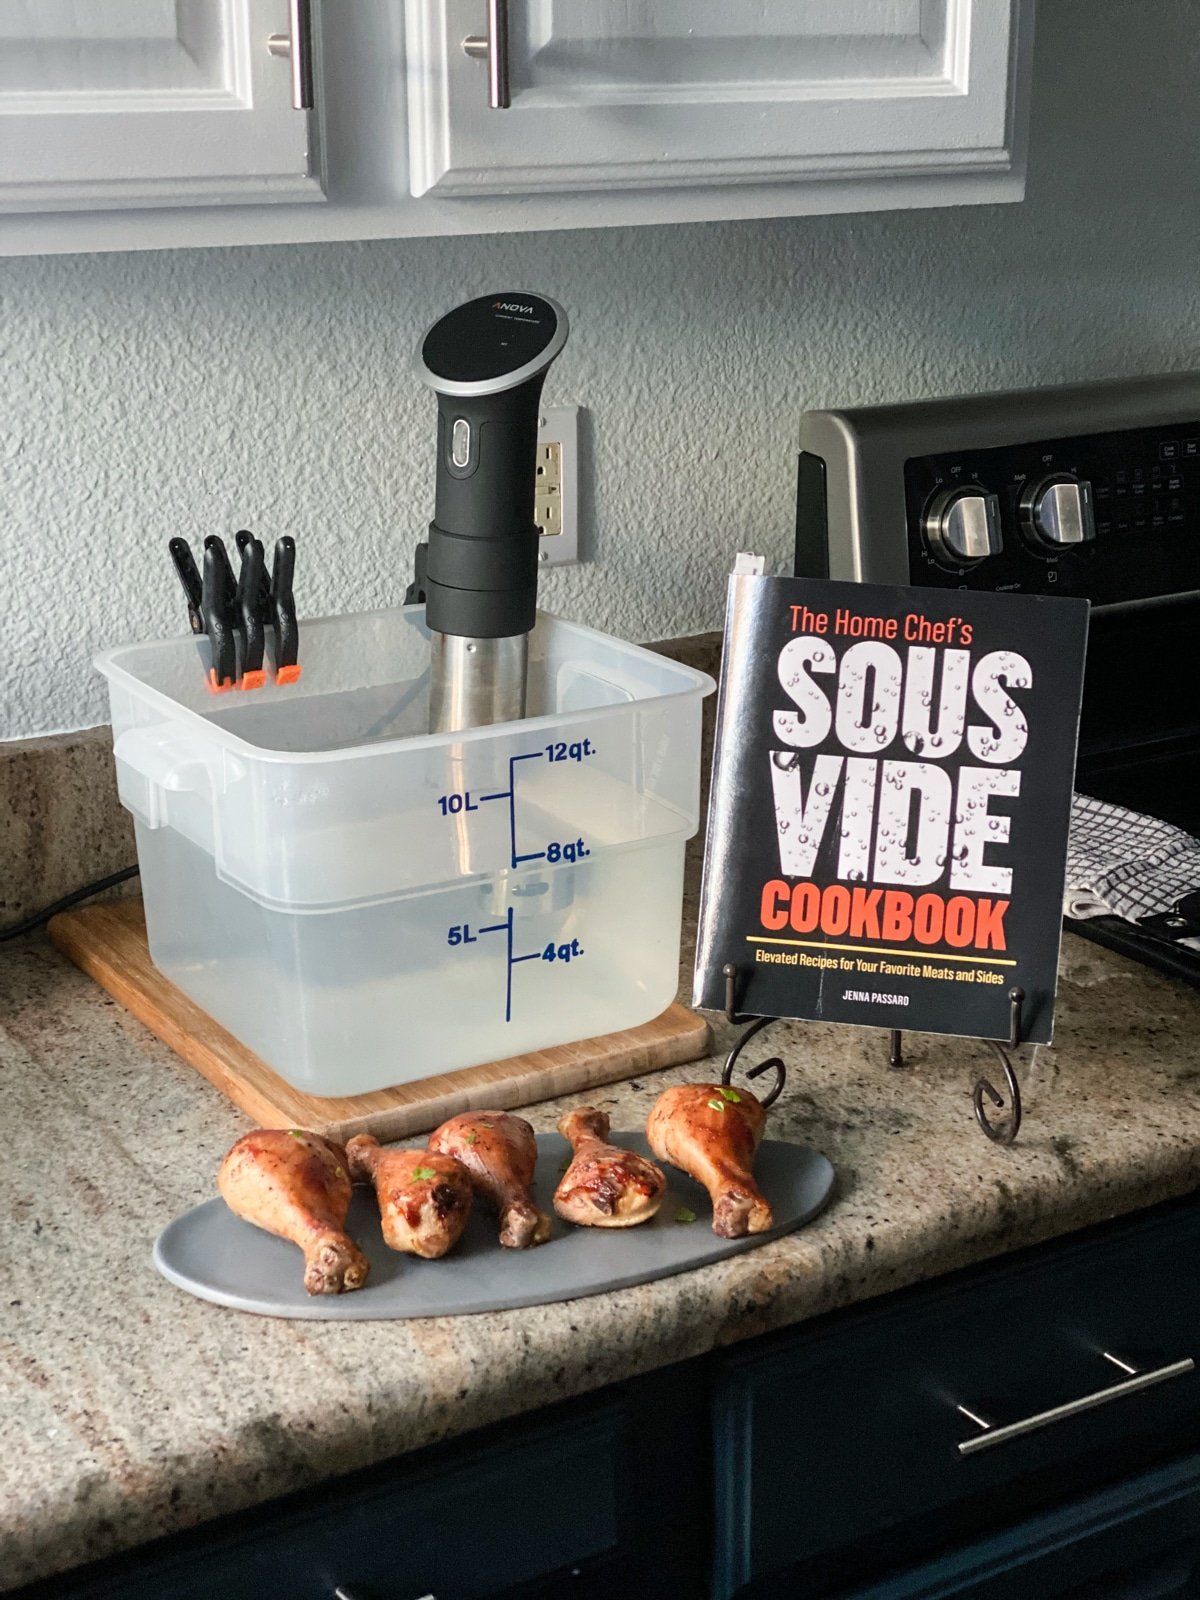
Option 1 – Traditional sous vide stick machines, like the Joule, Instant Pot Slim or Anova, are popular, but they require something to hold the water. The machine attaches to the side of a container holding water and it heats the water that way.
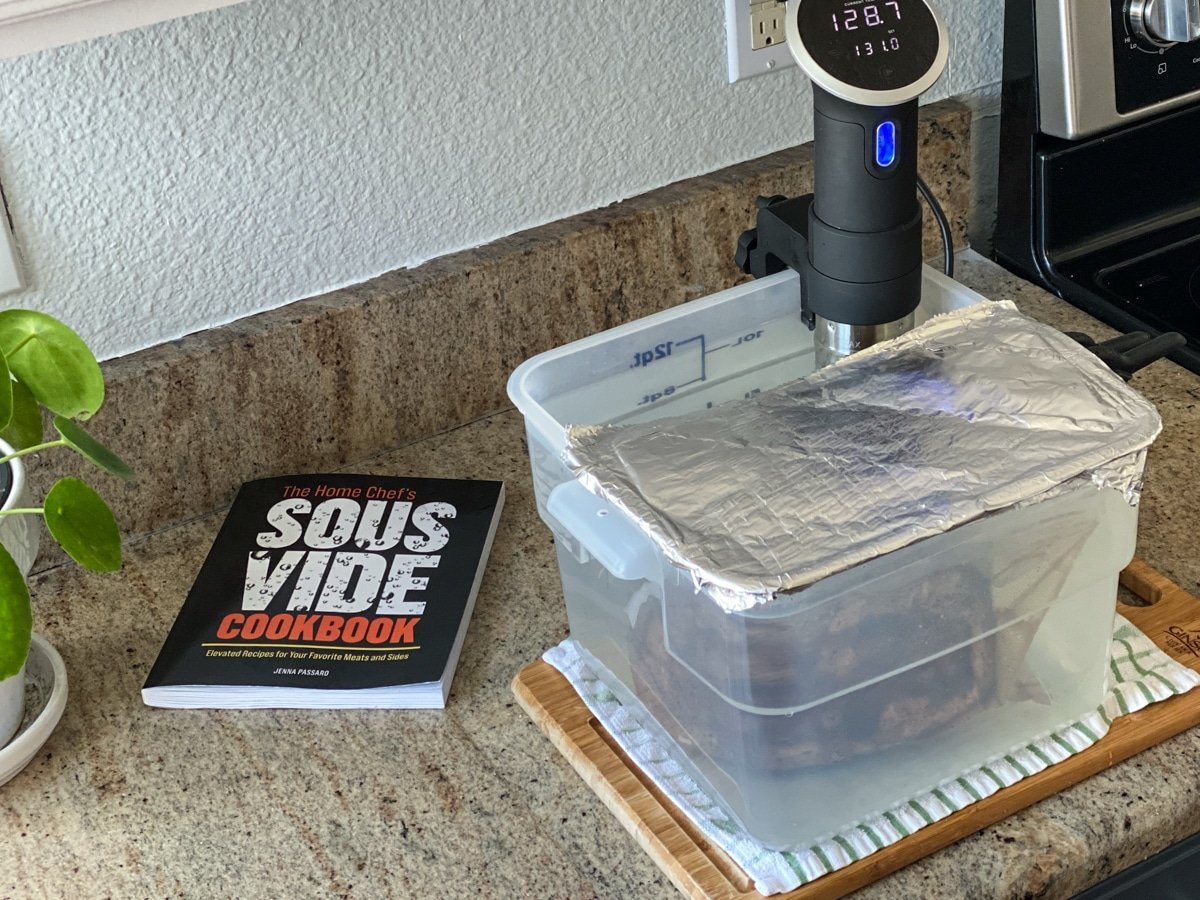
An immersion circulator container can be anything: a big rubbermaid container, a big kitchen pot, or even your instant pot. It’s full of water, and your sous vide machine typically clips on the side to keep the water moving and at the right temperature.
Option 2 – Multipots can do anything these days – including sous vide cooking.
Lately I’ve been partnering with the people from SousPreme multipot to work on some new sous vide recipes.
Also on the market are new Instant Pot sous vide machines. These look like Instant Pots, but they are a step up. These Instant Pots with sous vide functions are becoming more and more popular. Learn why is sous vide so popular.
(STEP 3) Finish the dish
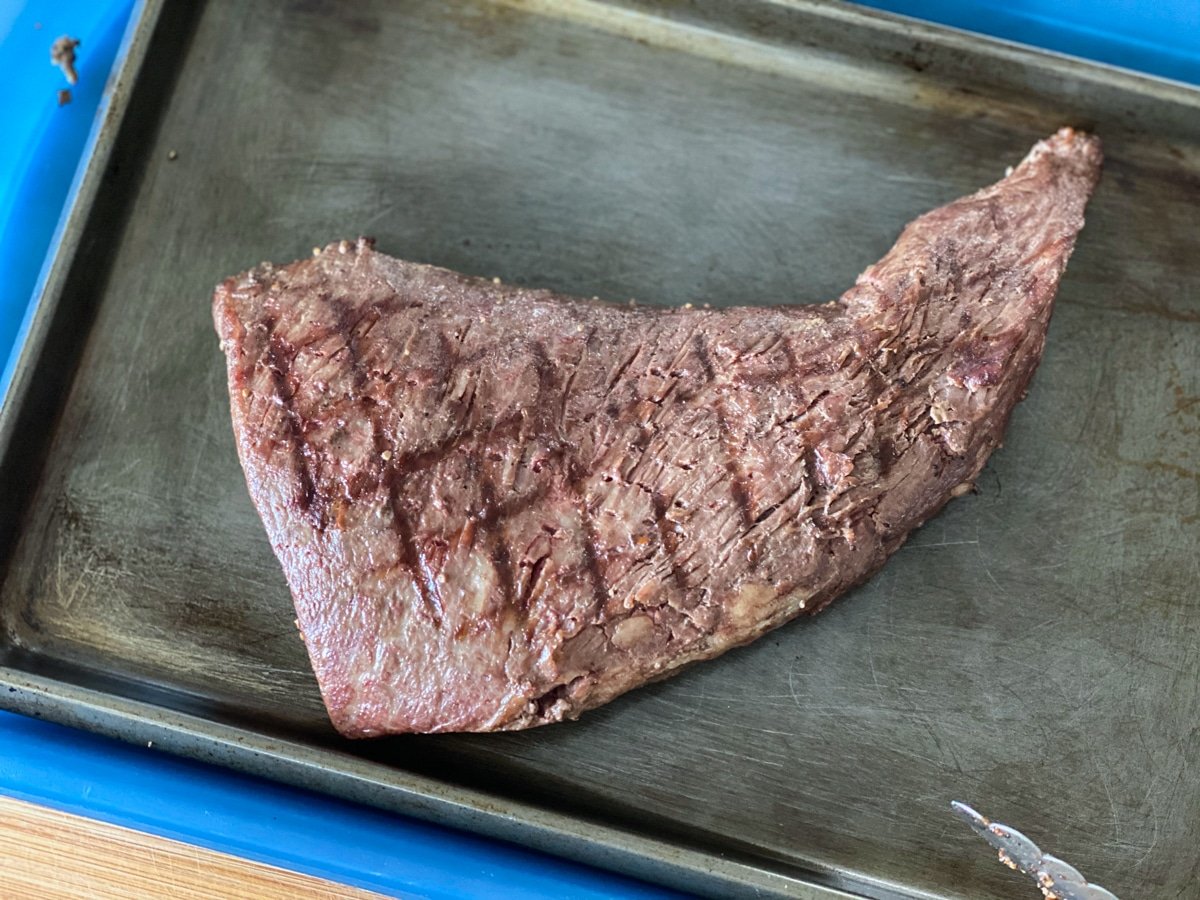
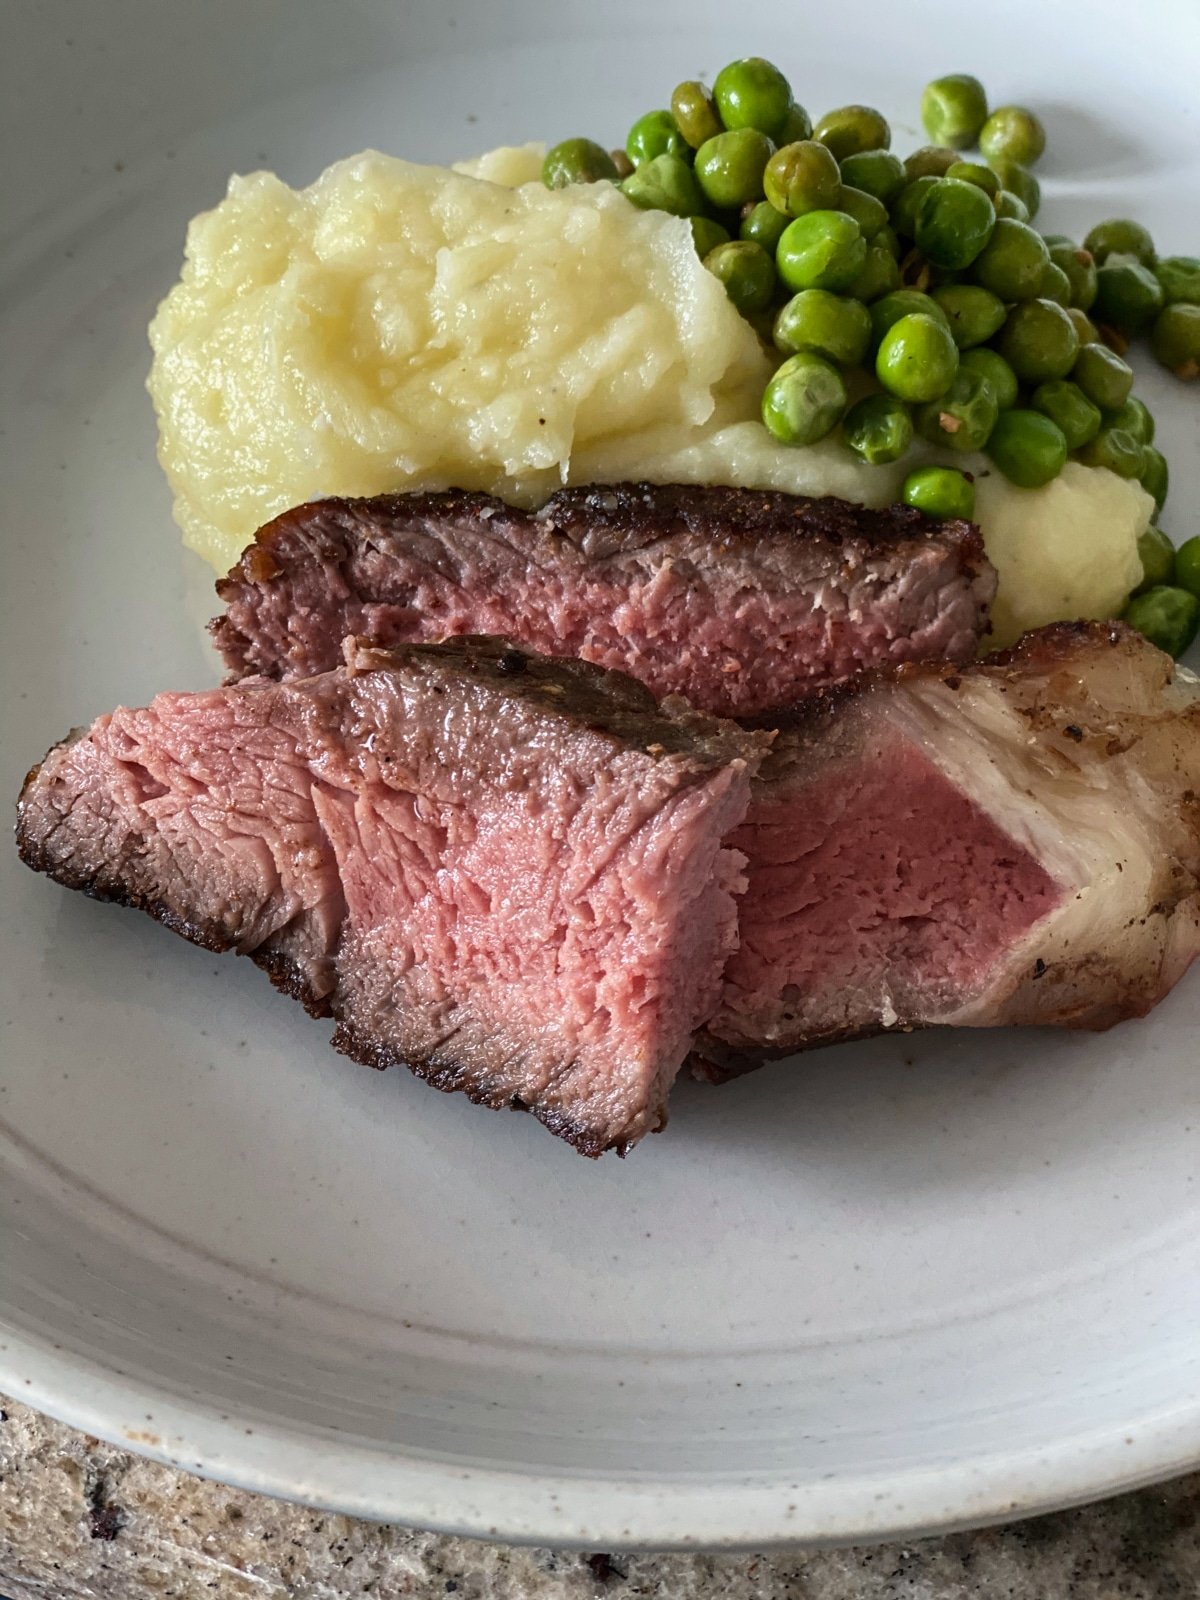
The final step, finishing your sous vide food, involves torching, grilling, broiling or searing your meat to give it that crispy, brown exterior.
Finishing generally never takes more than a few minutes, and when it’s done, you’re ready to serve.
Different ways to finish sous vide dishes
Home chefs love the versatility of finishing their sous vide cooks with different techniques.
One of the most popular ways to finish sous vide recipes is with a cast-iron skillet. I’ll do this with recipes like my sous vide NY strip and ribeye.
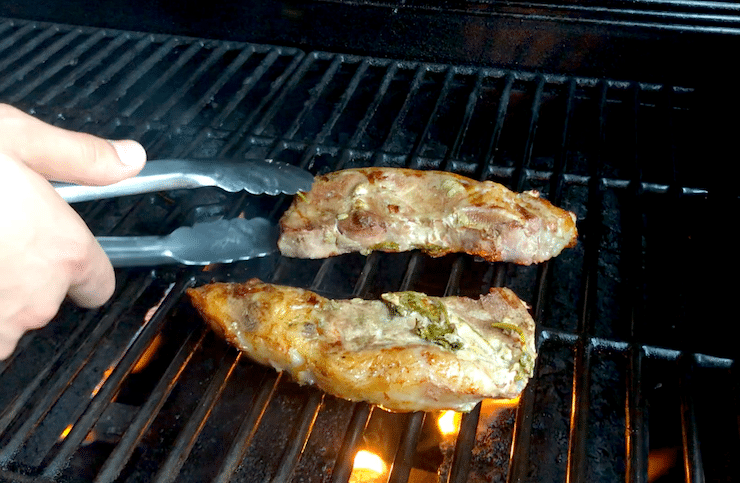
I like to grill finish recipes like sous vide pork, sous vide burgers, sous vide shrimp, and sous vide lobster. The food just hits the BBQ for a few minutes for a little char on the outside, then it’s pretty much ready to serve.
This technique of finishing sous vide cooks on the grill is a great way to prepare food for a sous vide party.
See my favorite sous vide recipes for entertaining.
Some sous vide recipes that are finished in the broiler include sous vide egg bites (with a little fontina cheese sprinkled on top = yum), sous vide short ribs, and sous vide turkey breast for Thanksgiving.
You can air fry sous vide recipes to finish them like I recommend in this recipe for sous vide chicken wings. In fact, this recipe has been included as a sous vide chicken recipe featured on Anova – they say these wings are the last wings recipe you’ll ever need.
And there’s always the unbeatable combination of smoking and sous viding food. Give this method a try with sous vide brisket or sous vide bone in pork chops.
Learn how to cook sous vide chicken from frozen.
What you need to sous vide
- Sous vide machine – like the Joule, SousPreme, Anova, or Instant Pot Slim
- Vacuum sealer and bags – you’ll often see my Foodsaver 4400 machine with vacuum sealer bags – you can also use ziploc bags to sous vide food
- Sous vide container for water – either a bucket or stock pot
The exception to the rules of sous vide cooking
Just like art – for every cooking rule, there is an exception here and there to the 1-2-3 steps for sous vide cooking.
Like these sous vide soft boiled eggs. They’re actually cooked right in their shell, without a ziplock or vacuum sealed bag. And they don’t need to be “finished” like many other sous vide foods.
Usually, I’ll make a big batch of soft boiled eggs and eat them as sous vide avocado toasts. It’s a perfect work from home lunch.
Some other sous vide cooks are finished in glass jars: sous vide vanilla extract, sous vide limoncello, and sous vide pickled red onions to name a few.
Once you’ve moved from sous vide for beginners to sous vide enthusiast, you’ll want to try these other recipes.
The most extensive resource of my sous vide recipes is in The Home Chef’s Sous Vide Cookbook.
Check it out if you’re serious about upping your sous vide beginner skills.
What’s the first thing to sous vide on your list?
The best way to start sous viding is to jump right in.
Get some high-quality steaks and try it out.
Find me on Instagram @sipbitego and subscribe to the Sip Bite Go channel for sous vide recipes.


Leave a Reply