Connect on: YouTube | Instagram | Facebook | Pinterest | TikTok | LinkedIn

Hey, I’m Jenna and I love food and travel. More >
I’m a cookbook author, and your recipe helper when it comes to all things cooking from scratch, BBQ / Traeger smoker grill favorites, griddle cooking, and easy meals.
My best foodie friends are also vacation-lovers, and if that’s you, you’ll have to check out my helpful travel guides…
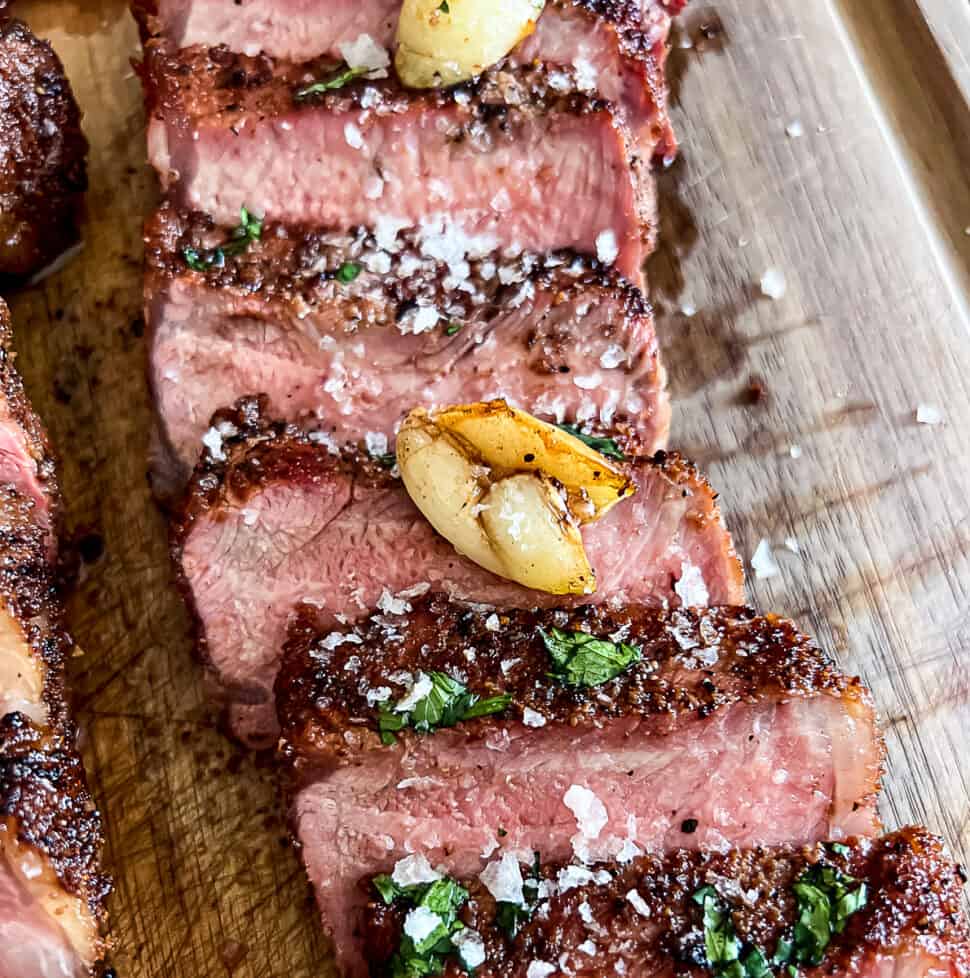
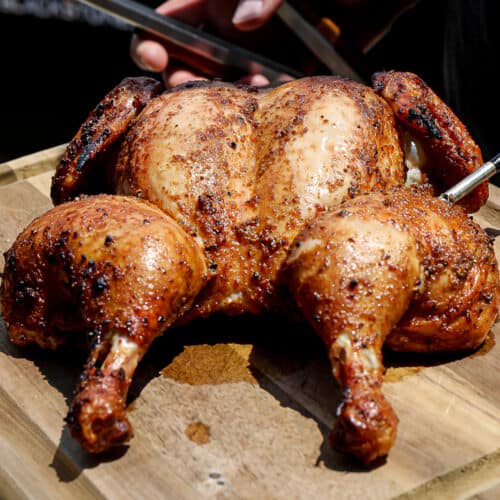
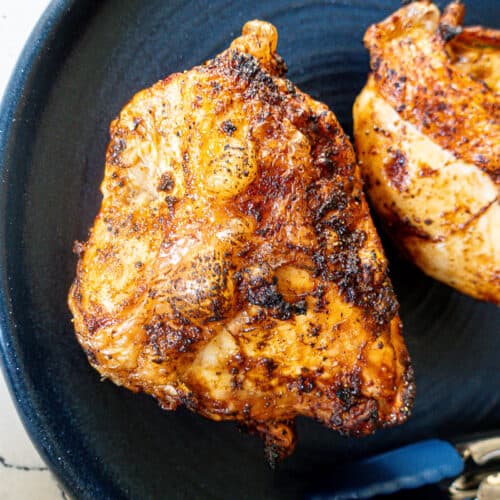
Fire Up The BBQ!
See all grilling recipes / smoker recipes / griddle recipes
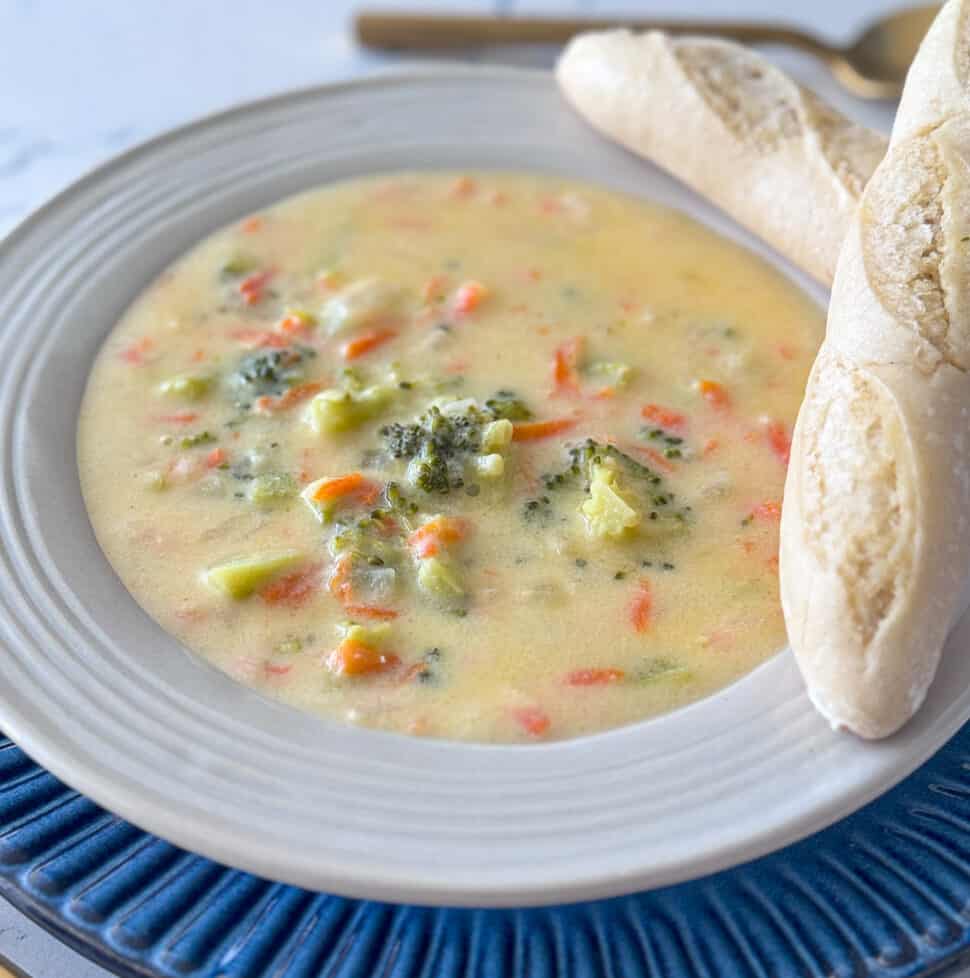
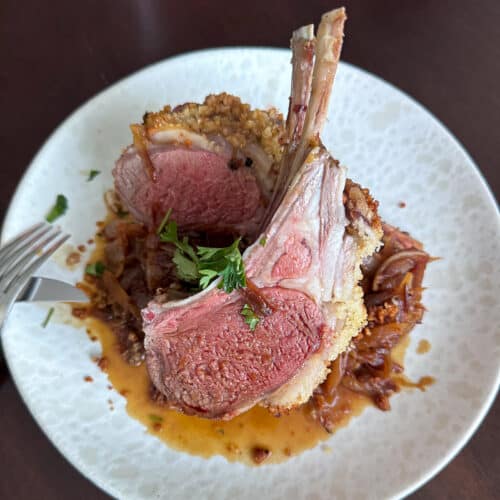
Spring cooking ideas…
See all seasonal spring recipes

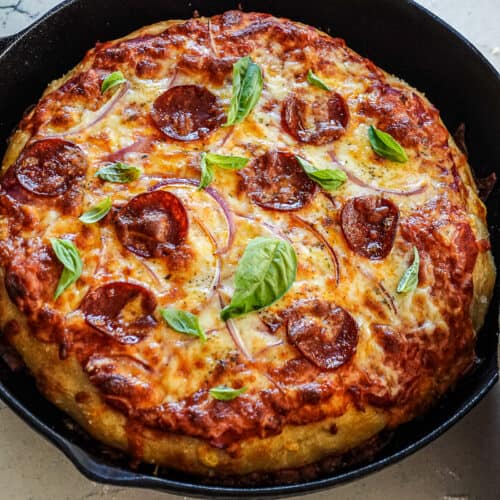
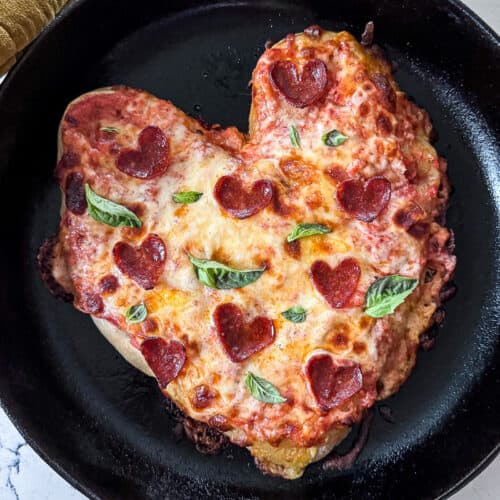
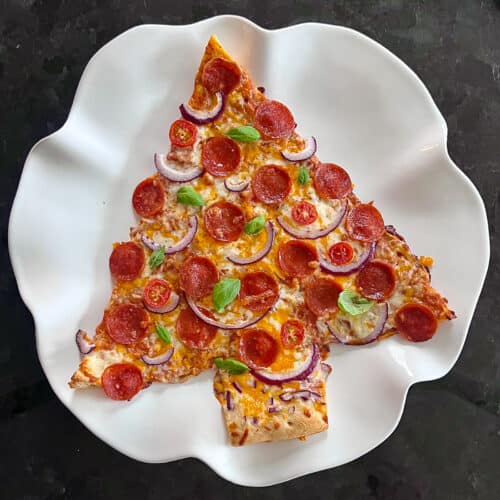
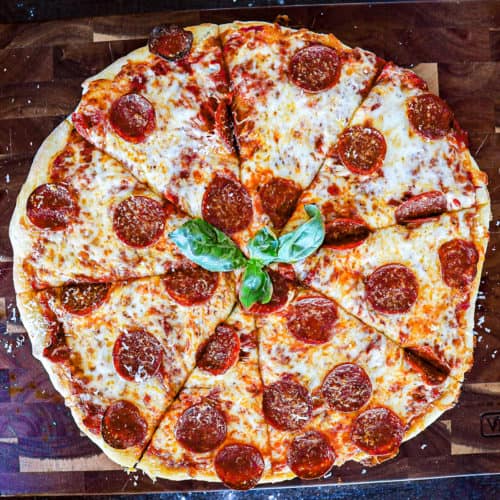
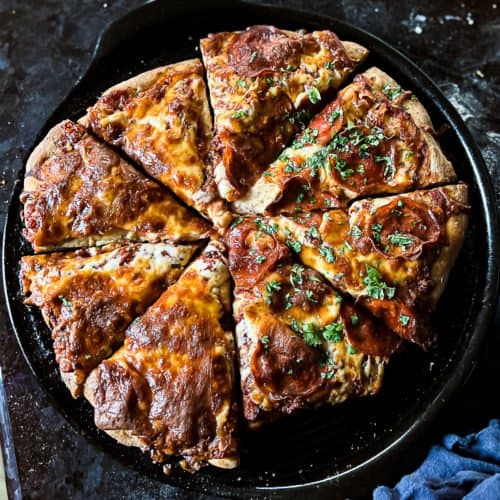
Make homemade pizza (better than delivery!)
See all pizza recipes
Learn about sous vide cooking
See all sous vide recipes
Get inspired with family + foodie travel guides
See all travel guides


Learn how to cook a staple recipe

Home Decor & Seasonal Guides…
See all home posts…