
Making your own DIY EGO Lowel Lights
After eyeing DIY Lowel EGO Light guides on different blogs, I was inspired, but discouraged, since many DIY photography guides require fiddling around with electricity. Needing to mess around with electrical is a deal breaker for me. Plugging in a lightbulb is as far as I’m going to experiment with electricity. So I experimented and created beautiful, natural white lighting that makes my food photography look great even when the sun goes down.
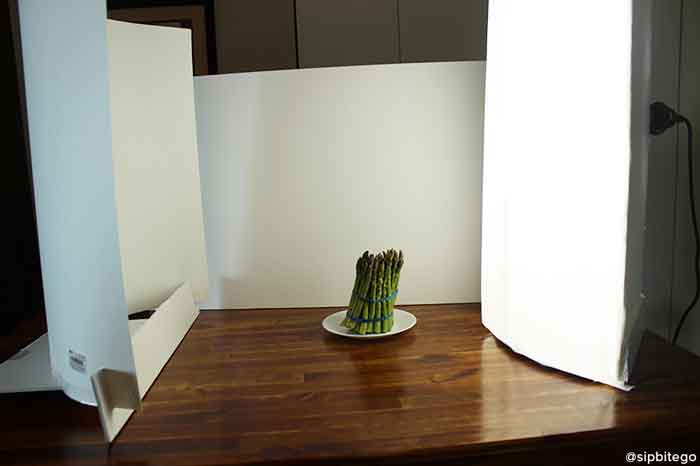
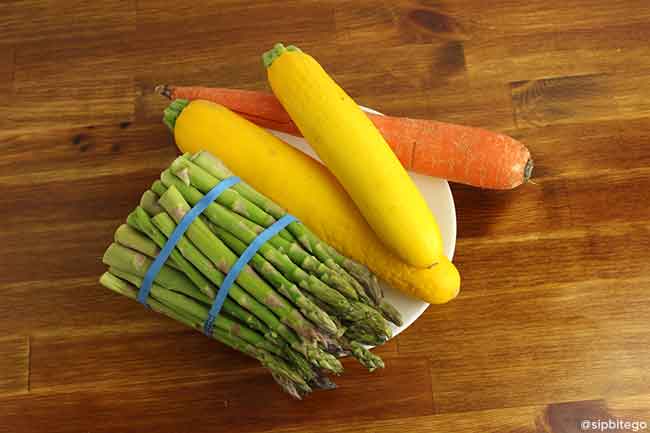
DIY food photography lighting similar to Lowel Lights
One great reason to make your own lighting is if you’re new to blogging and want cheap lighting for food photography photos. If you rely on nights after work to photography recipes for your blog, you don’t want the lack of light to stand in your way of pretty photos.
One option is to purchase these (affiliate links) Lowel EGO Lights, but if you’re just starting out, you might want to go the DIY photography setup route.
Use DIY photography lighting for overcast days
Natural lighting is a every food photographer aims to capture. As you may know, San Francisco has a lot of foggy days. I don’t want the weather to stop my momentum. It’s weather-kill, and I’ve experienced it a lot lately. Sometimes my beautiful cup of coffee in the morning set on a lovely new dish towel can’t wait until the fog clears.
Complete your DIY photography studio with DIY lighting
If you’re a food blogger, you’ll find it difficult to capture all the steps of a recipe if you’re running back and forth to find natural lighting. Moving the light to your natural kitchen setup makes it easier to capture candid shots of the prep and cooking process. Plus, then you don’t have to carry hot pans around your home.
Lighting to photograph food at night
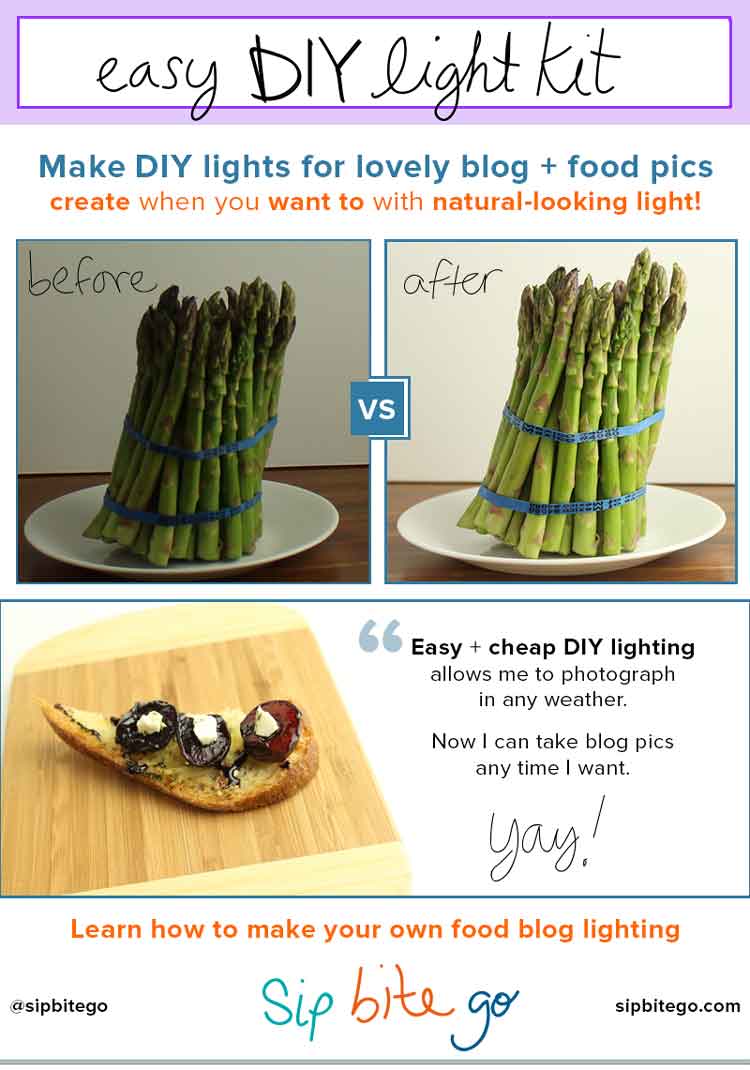
Lets say you’re a food photographer that is taking snapshots of the steps for a dinner recipe. You might prepare the food earlier in the day while natural light is available in your kitchen. But, when the recipe is ready around 6pm for dinner and the light goes down, you might take photos you’re disappointed in later. If you rely on overhead lights, those photos will turn out yellow and not a crisp white light. This color distortion cheapens the look of food photography.
With DIY lowel lights, you’ll be able to take final photos in bright light that looks very similar to natural lighting.
Spend less time in photoshop
While I love editing photography, it can be a major time-suck when you’re building a food blog. Instead of using Photoshop filters to overcompensate for dark photos, the DIY EGO lighting helps to create photos that don’t need much editing.
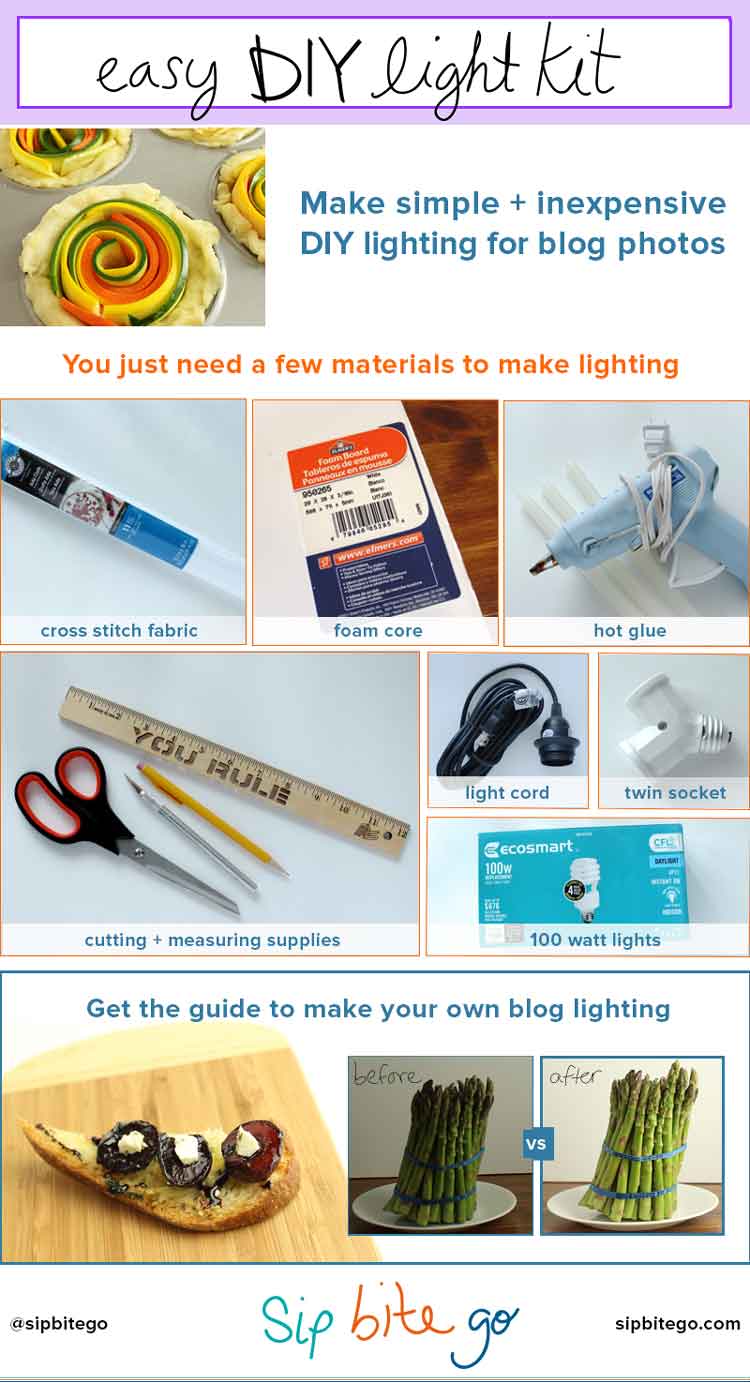
Supplies for DIY EGO Lowel lights at home
| (1) white foam board | (1) Cross Stitch Fabric | (2) 100 watt bulbs | (1) twin socket adaptor | (1) hanging light cord |
|---|---|---|---|---|
| 20 in x 28-30 in | 29.5 in x 36 in (11-18 ct) |
(daylight) | 6′-12’ on/off preferred |
|

|
 |
 |
 |
PRO TIP: Want to make 2 lights? The cross stitch fabric is enough to make 2 lights, so just double the other items. But, you don’t necessarily need 2 lights. You could use an extra sheet of foam core to “bounce” the light off the lowel light, which will brighten the whole scene.
To bounce light off your DIY lowel lights, you need:
-
Glue gun + a handful of glue sticks
-
ruler
-
xacto knife
-
scissors
-
pencil
Materials for DIY lowel lights:
(note: these are affiliate links, which cost you nothing + help keep my site free)
-
1 – white foam board – 20 inch x 28-30 inch
-
1 – Cross Stitch Fabric roll– 29.5-30 inch x 36 inch, white, 11-18 count, cotton
-
2x – 100 watt replacement bulbs (daylight)
-
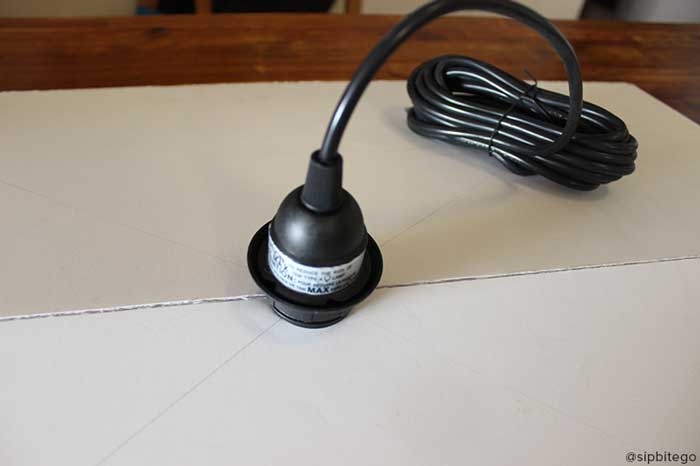
1 – hanging light cord – 6′-12’ as needed (check watts maximum, on/off switch preferred)
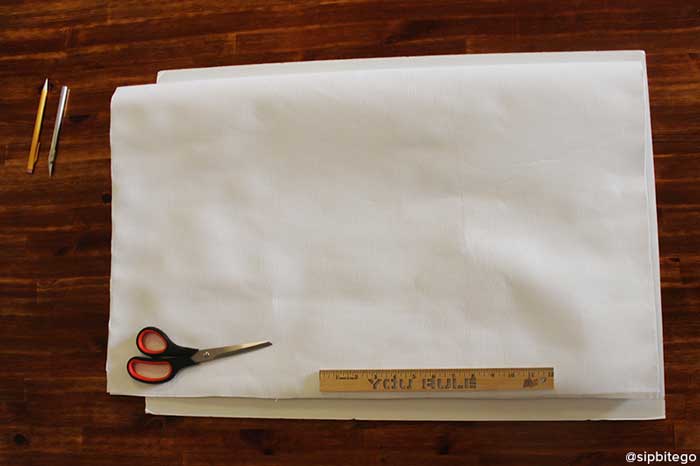
Cut the cross stitch fabric in half, longways.
The cross stitch fabric will diffuse the light for an even glow. You’ll be able to create another DIY Lowel Lighting kit with the half of the fabric you don’t use.
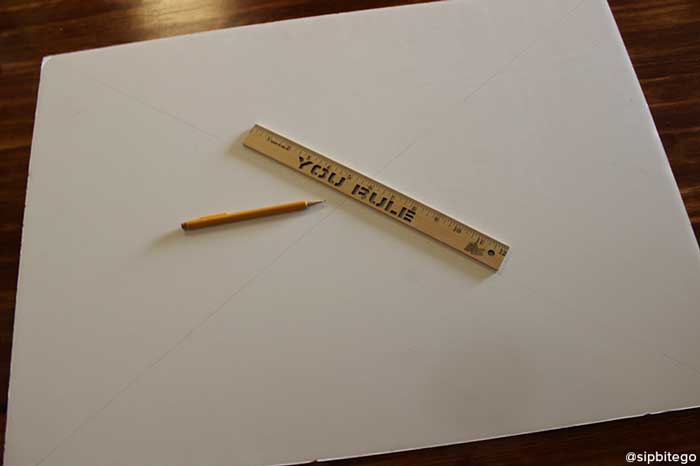
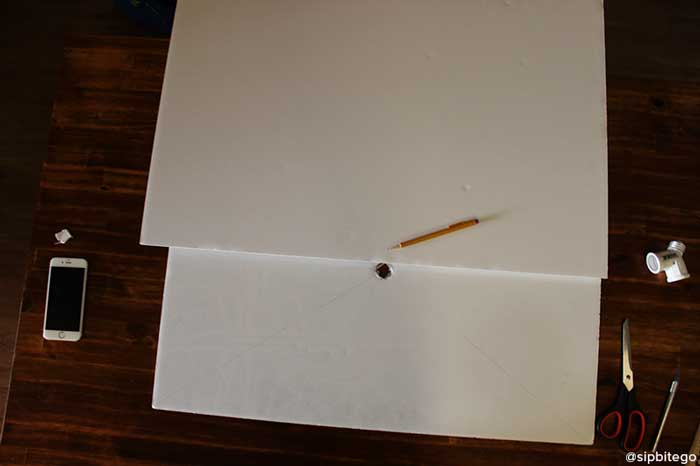
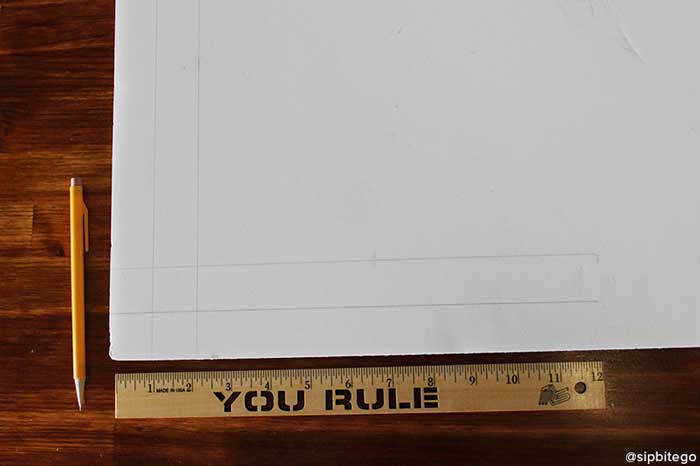
Make an X on the foam board with your ruler and pencil.
If you don’t have a long ruler you can use another piece of foam board as your guide. This X will help you determine where the twin socket lighting will be positioned in the middle of your DIY EGO Lowel Light project.
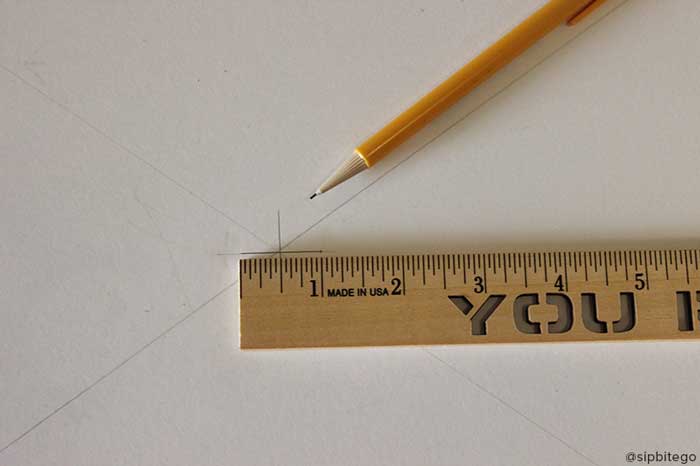
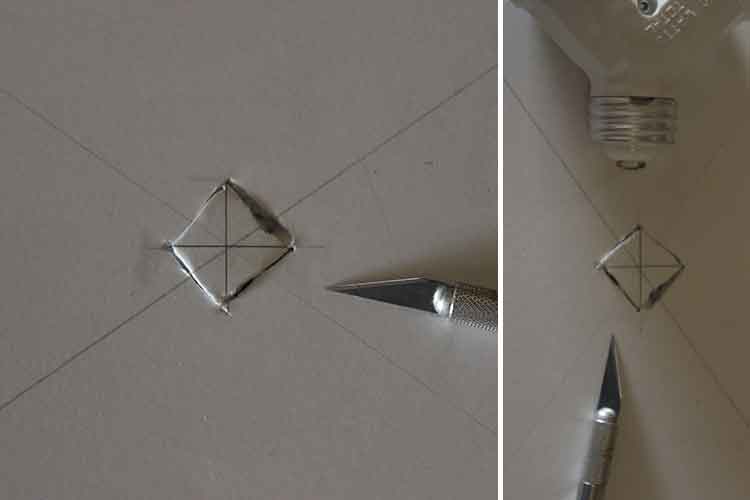
Measure an inch from the center of the X.
The diameter of your twin socket adaptor should be 1inch diameter (the ball part where it screws in). The 1 inch X you are going to make, criss crossing the large X you just made on the foam board, will guide you to cut the board and make a slot to hold the twin socket adaptor.
Cut a square out of the 1 inch X you just created.
You’ll want a snug fitting around your twin socket adaptor, so don’t make it too big.
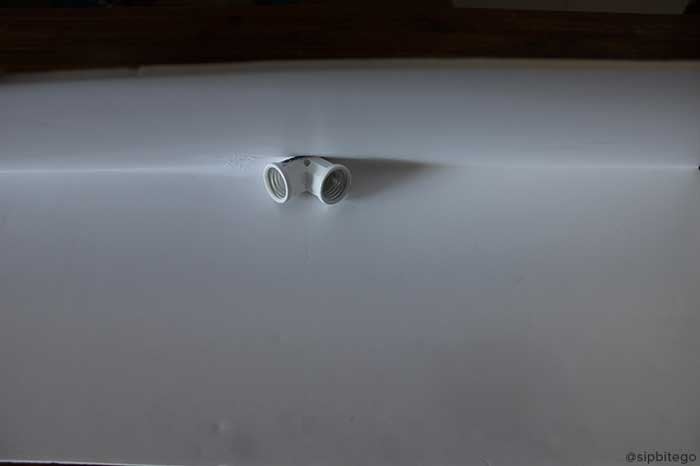
Fit the twins socket adapter tightly in the hole.
You’re not going to leave in there permanently, this is just to help you later. So take it back out!
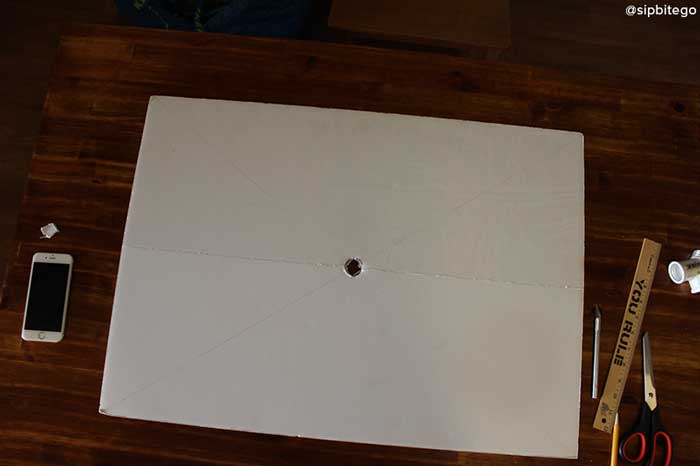
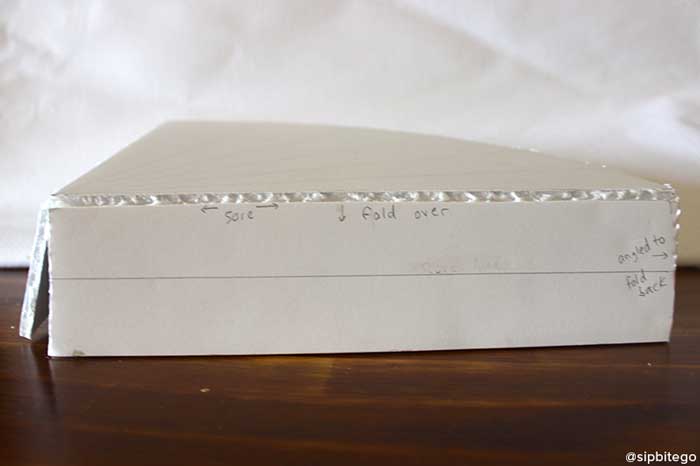
Make a line down the center of your foam core board, longways.
This is going to be the line that you score to make your light kit stand up.
Score the long vertical line you just made.
Bend the foam board in half but make sure you don’t go all the way through.
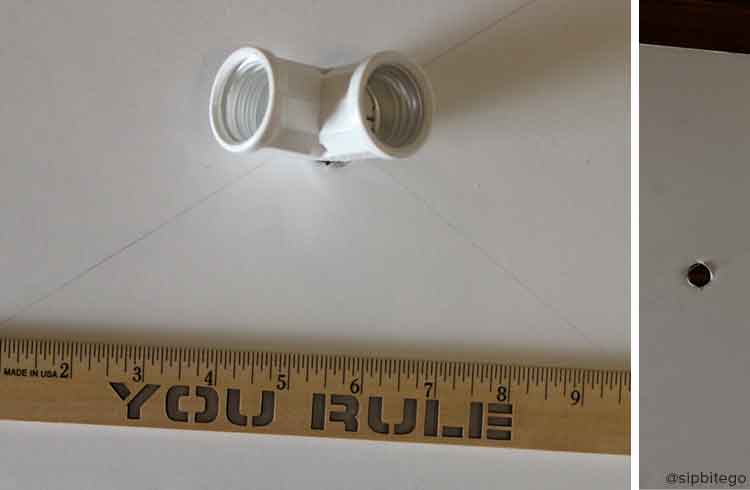
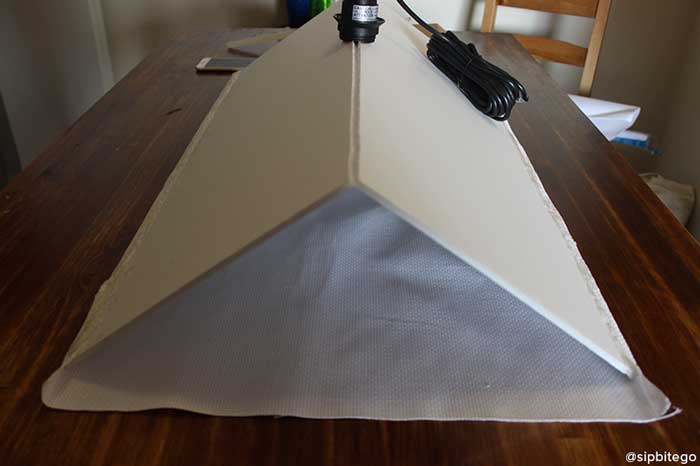
Take the hanging light cord and fit it in the hole.
Make sure the foam board bends AWAY from the back of the light cord.
 Twist the twin socket adapter in the other side.
Make sure you’re not paper anything else that’ll catch on fire tangled up in there! I’m not responsible for fires! Only beautiful food blog DIY lighting results!!
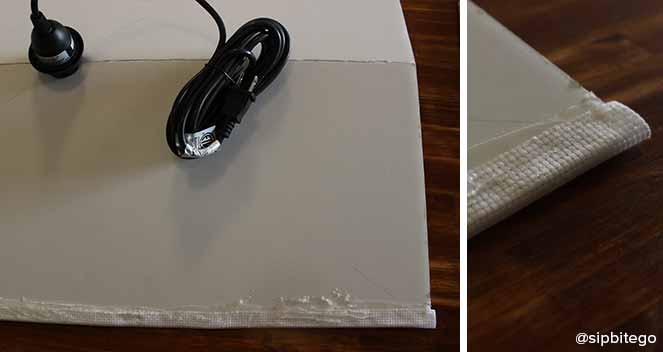
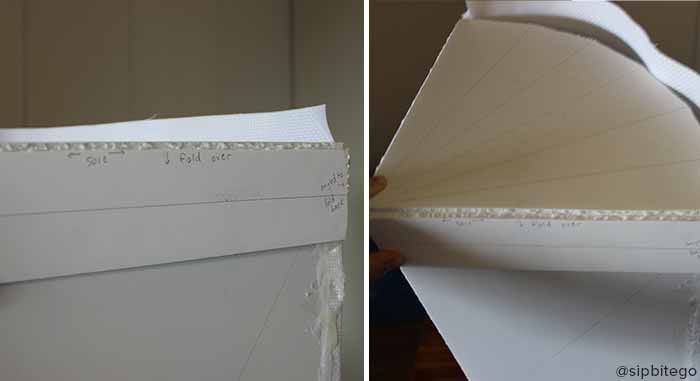
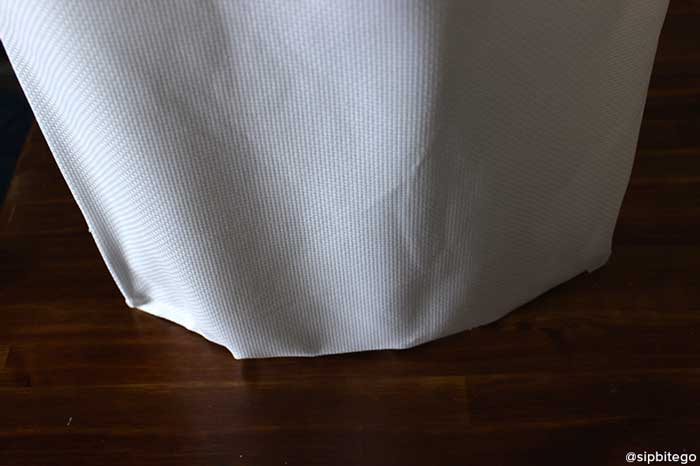
Hot glue a half inch of cross stitch fabric on one side of the board.
It is okay if the fabric is longer on one side of your board (the top or bottom). Make sure it is completely dry before you move onto the next step.
Fold the board you just scored to match the 90° edge of your other piece of foam board (as a guide).
Measuring the 90° angle will let you know how tight to pull the fabric on the other side in order to hot glue it. Later the extra foam board “guide” will become the base of your light.
Hot glue the loose fabric to the other side of the foam board.
Are you getting excited about all the awesome photography you’re going to do with your new lighting kit? YAY!
Measure 2 inches of the corner of your other foam board piece.
The bumper of 2 inches will let you fold the foam core up each side to create a sturdy base.
Cut out the extra square from the base, then destroy it!
Don’t mind that my photo shows a round a base. I originally made my light rounded but it didn’t have an advantage – make yours a triangle, it will be easier!
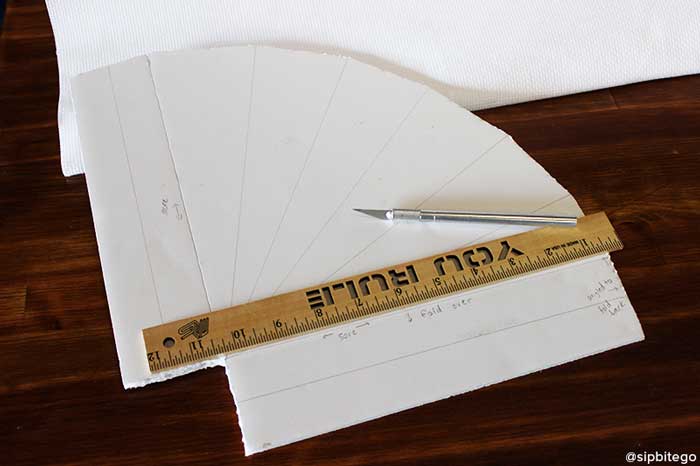
Trace the bottom of your DIY Lowel Light base on the other foam board piece.
Make sure you do this inside the 2 inch bumper!!
Then you can cut your base out of the second piece of foam core.
Now you’re going to score the bumper.
This will let you fold it up base for a nice foundation.
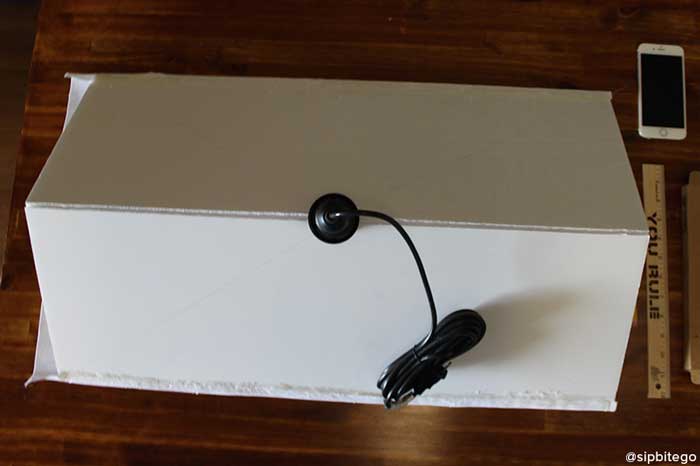
Place the foundation foam board piece you just made on the bottom of your light kit and glue it down.
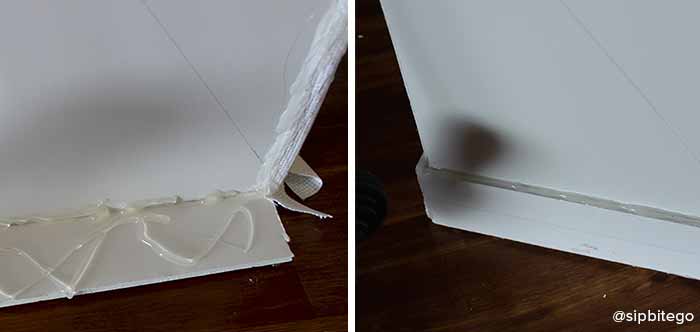
Before you completely seal off the bottom: decide if you need to put something heavy in the bottom of your light kit.
I glued down a couple pieces of wood so mine wouldn’t fall over.
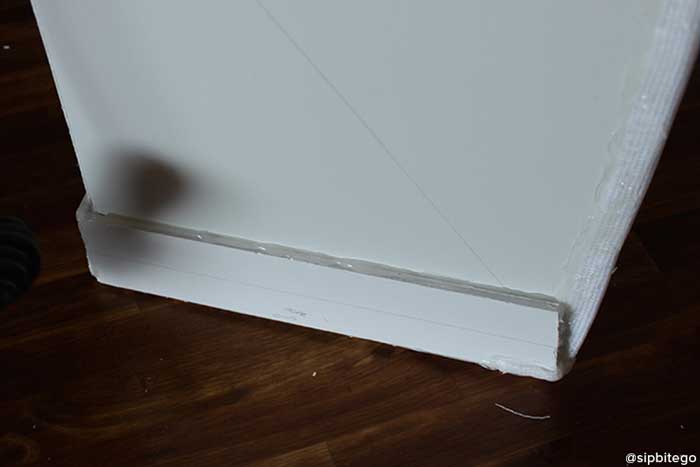
Then you’re ready to seal up the bottom.
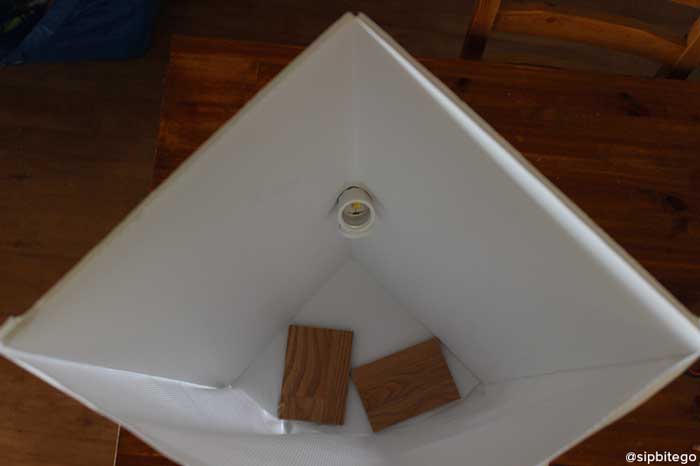
Screw in those lightbulbs and call it a day!
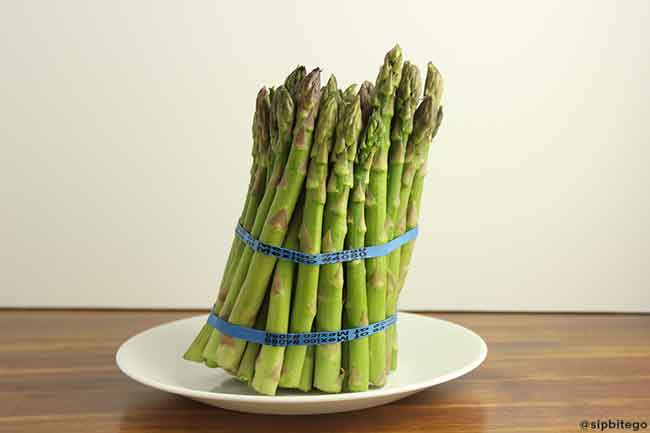
Just kidding. I know you’re going to try them out! Find something fun that is usually difficult to photograph and give it a go! Let me know how you do!
As you learn to play with the different lighting at different times of day you might be ready to buy the non-DIY Lowel Lights on Amazon.
Life with DIY Lowel Lights
I’m having fun seeing what my food blogging needs are and creating different lights! I’ll definitely splurge on lighting in the future, but – can’t lie – I’m having fun getting crafty!
Leave a Reply